Crafting The Perfect Coffee

Crafting CHEMEX

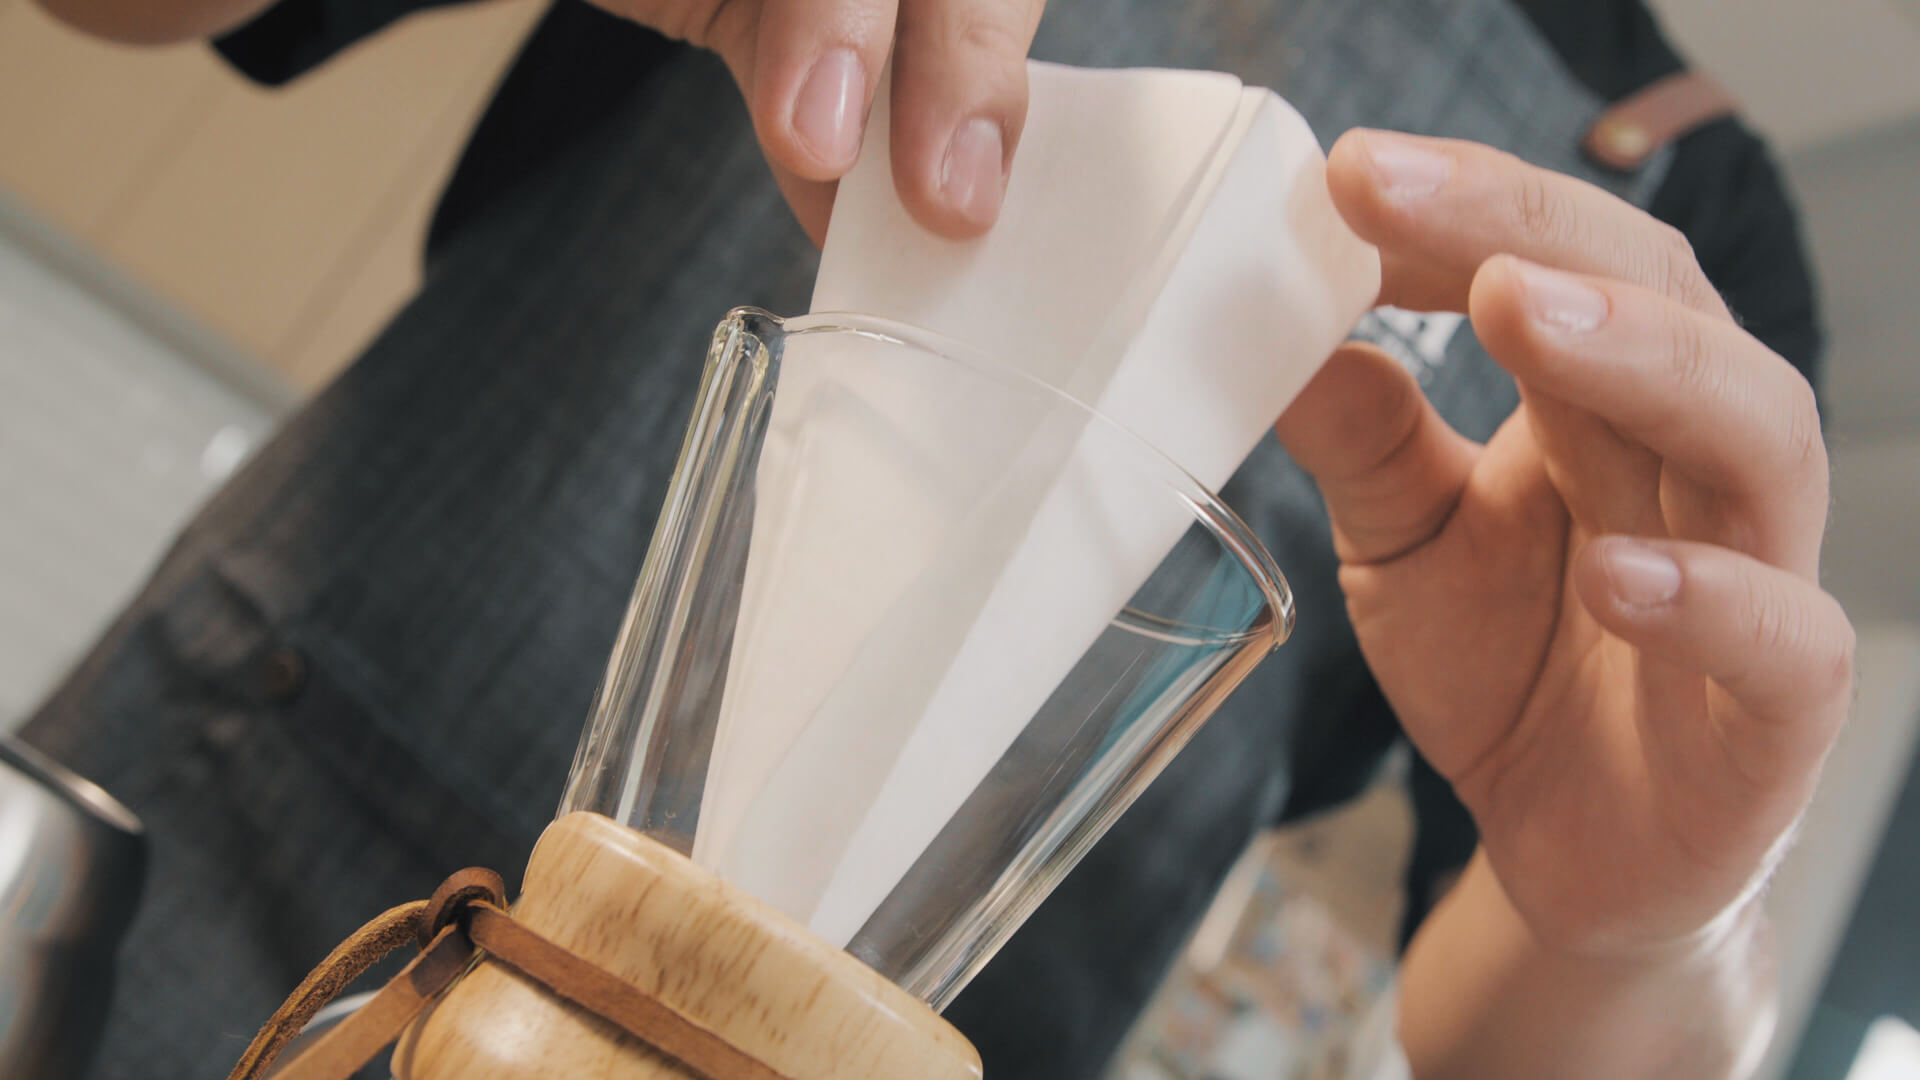
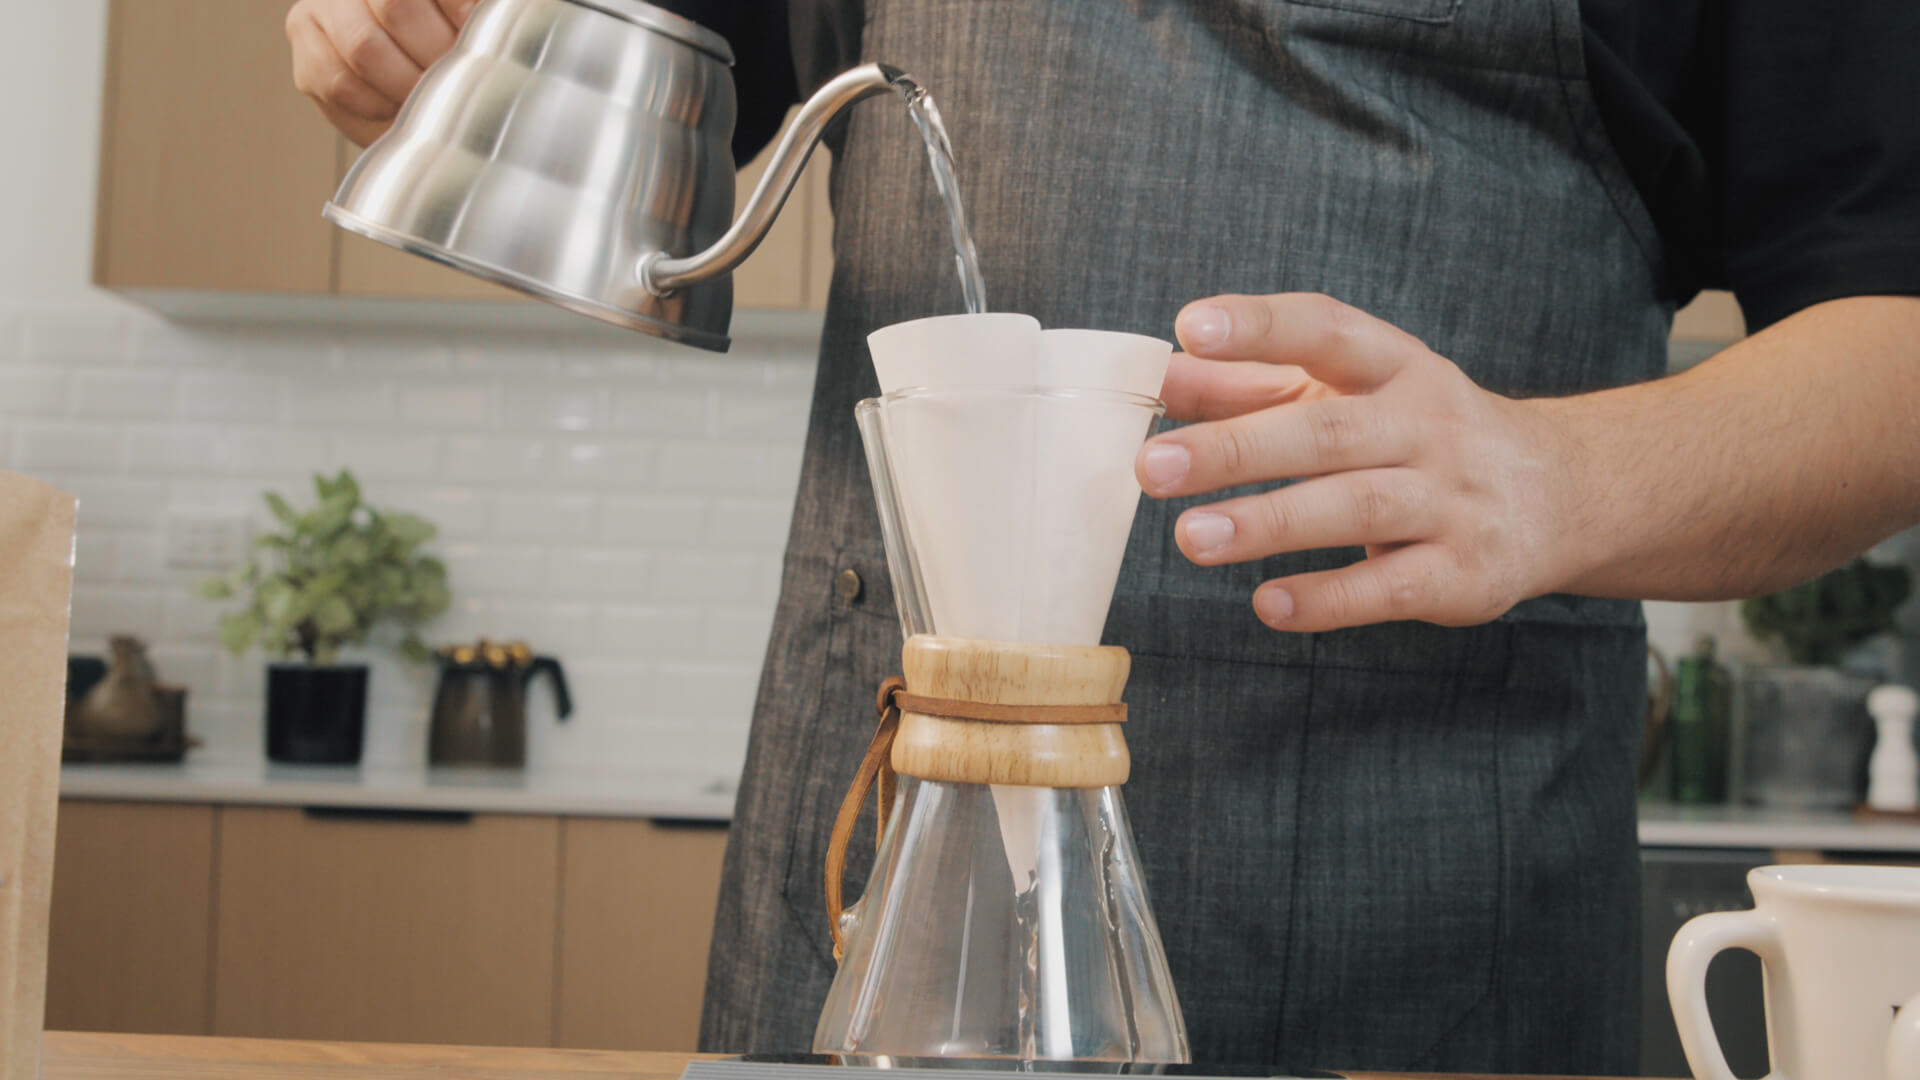
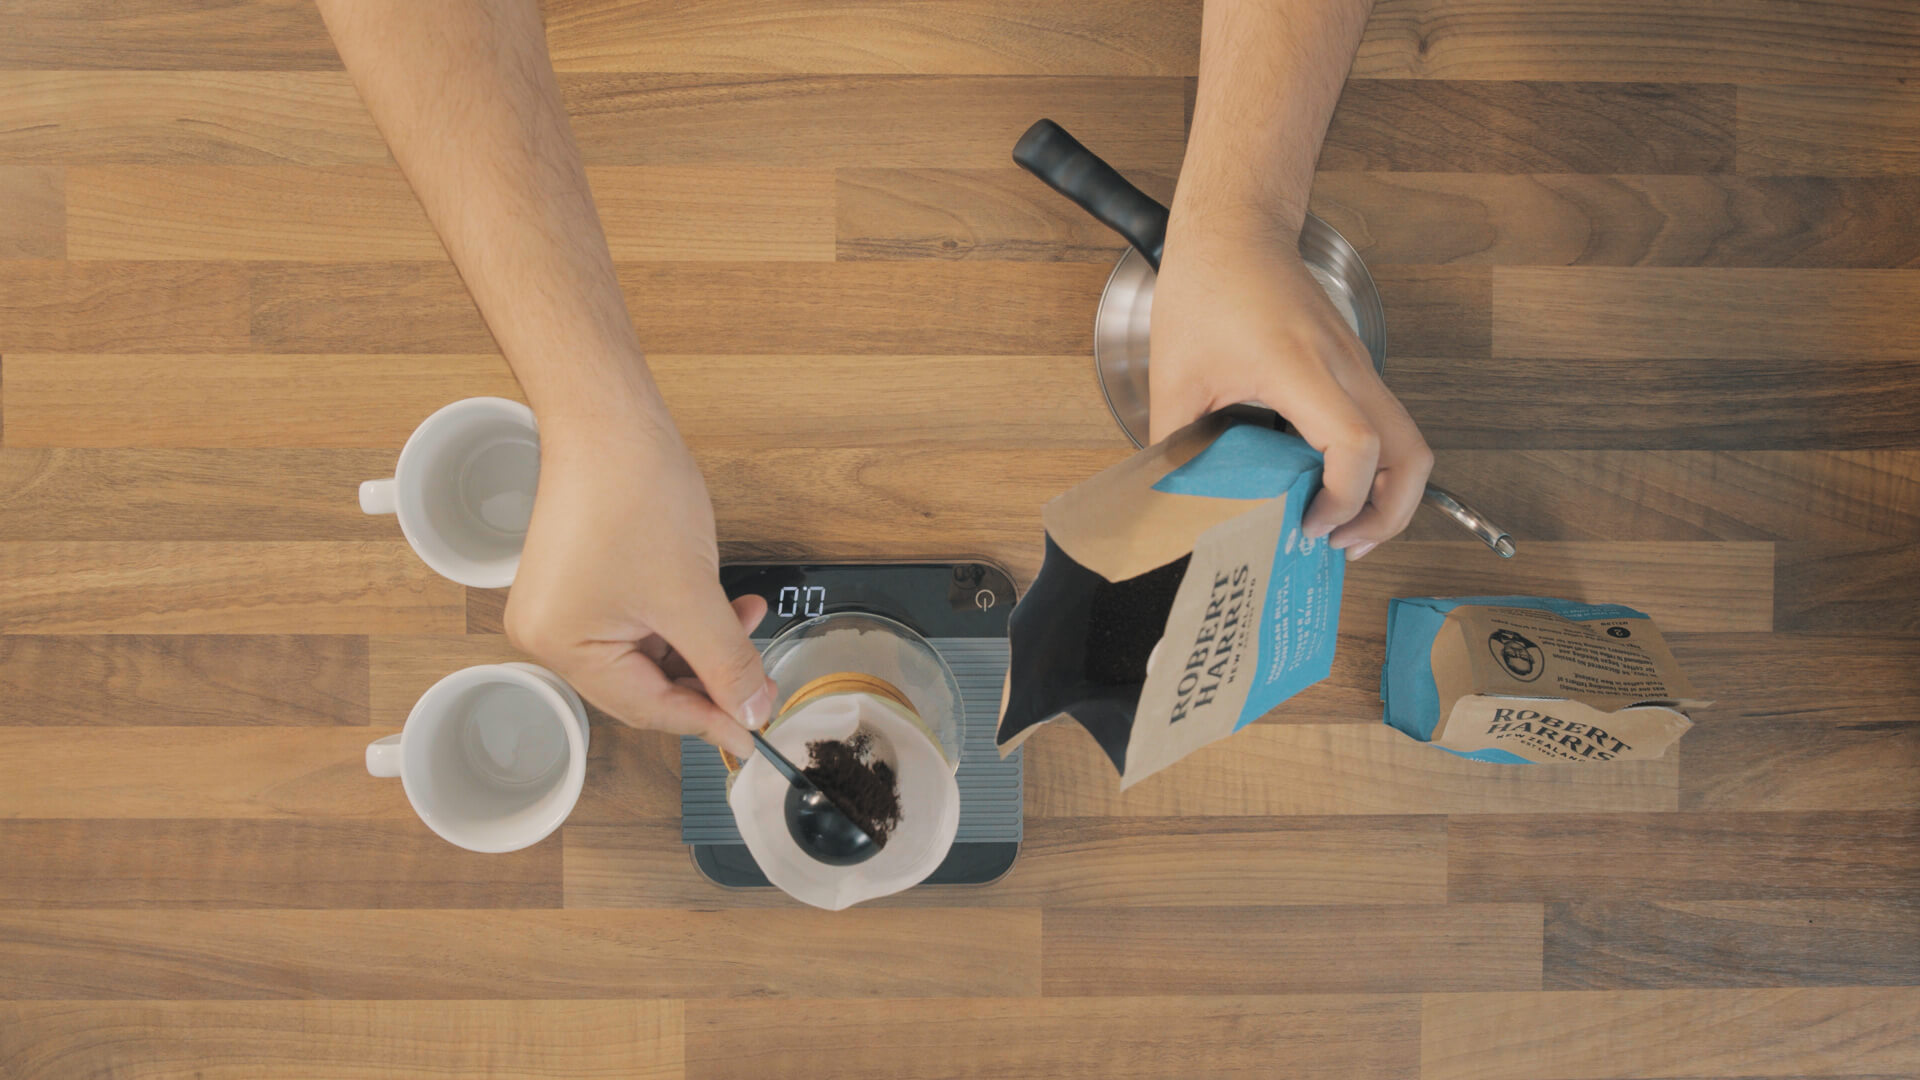
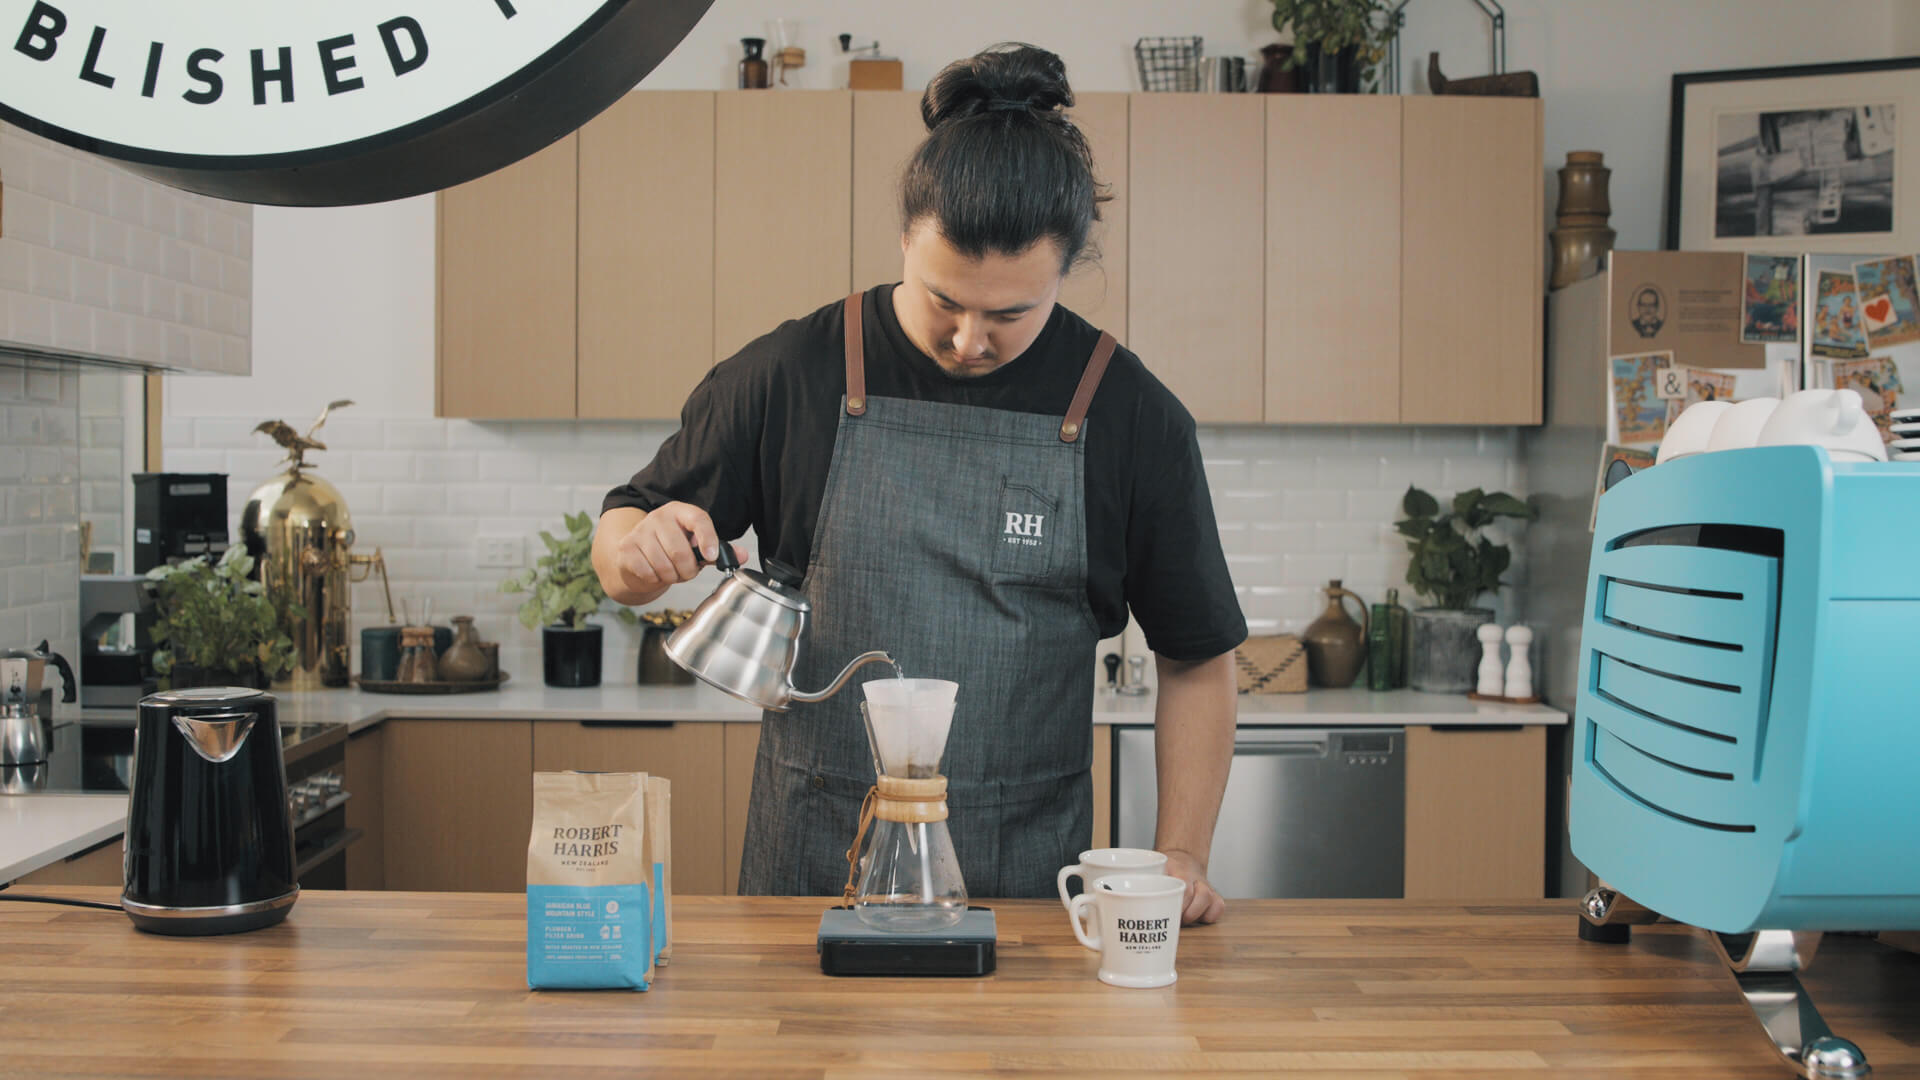
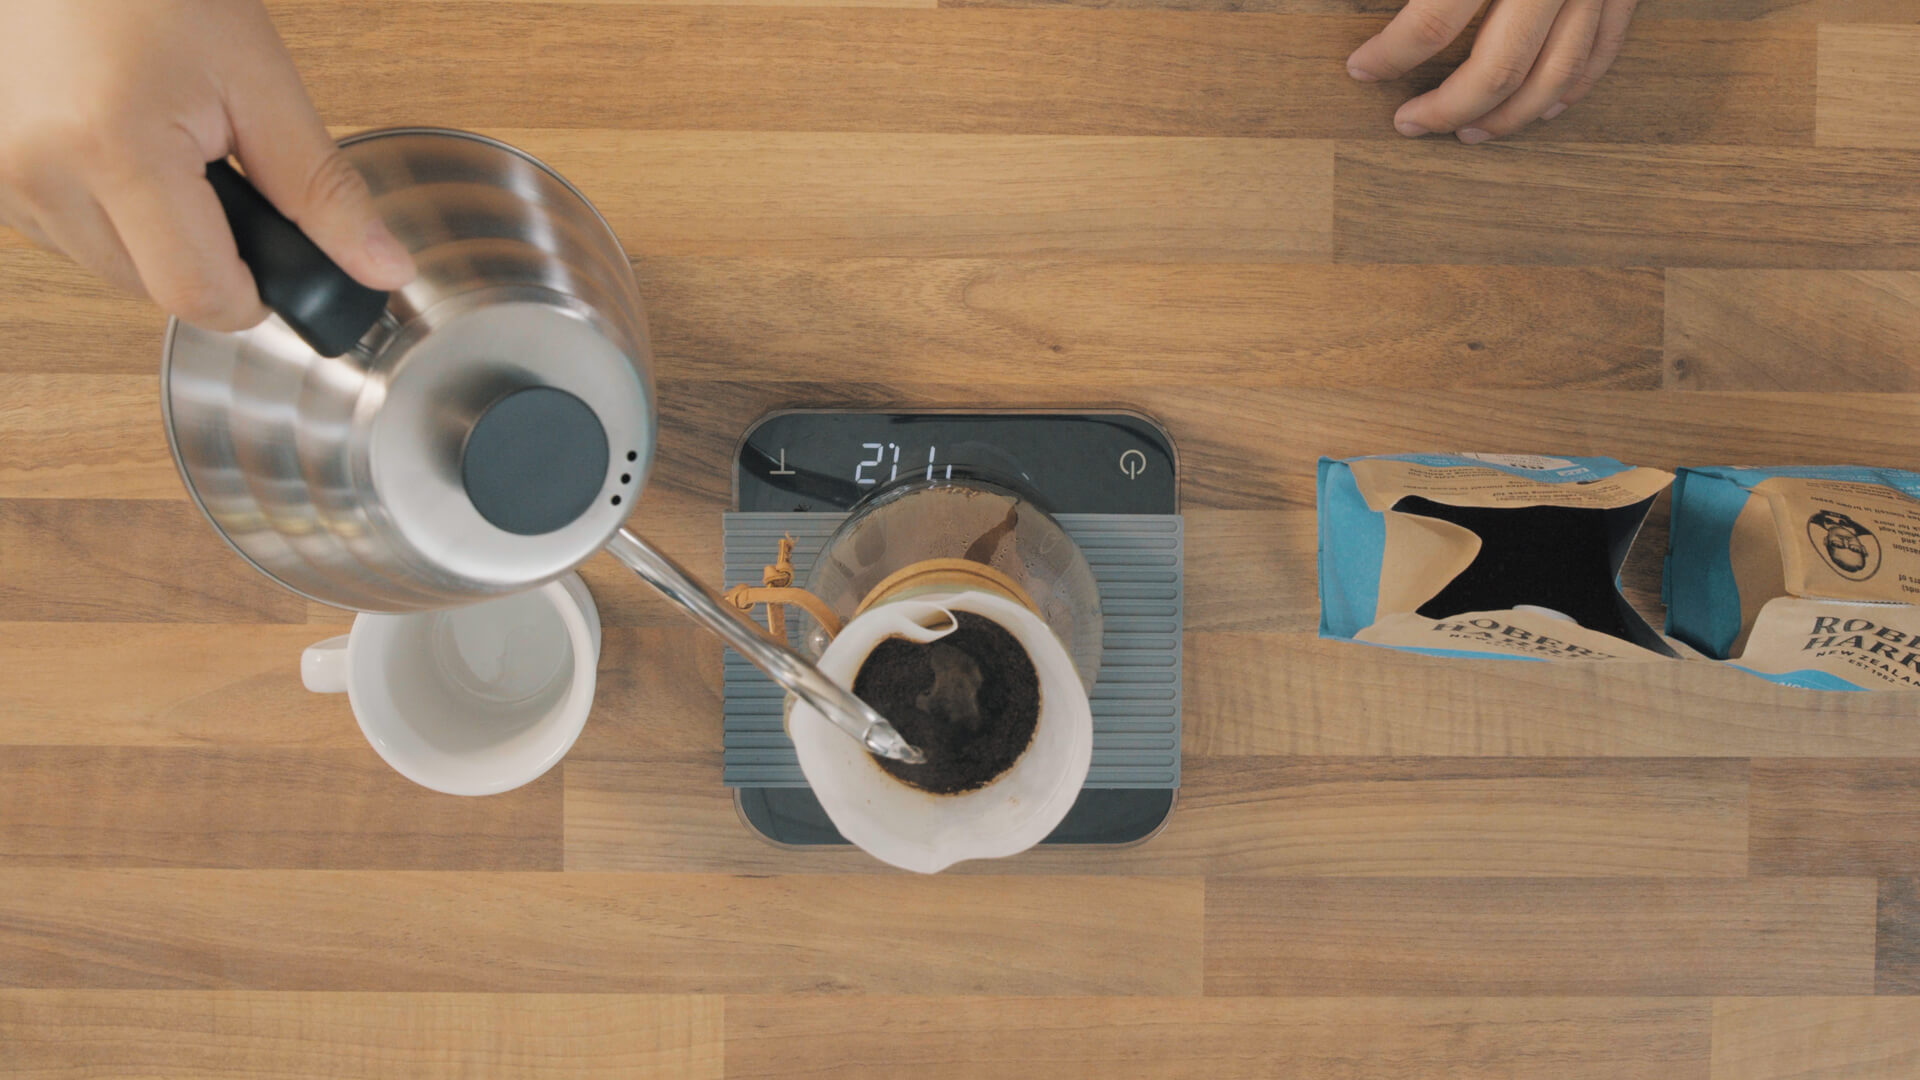
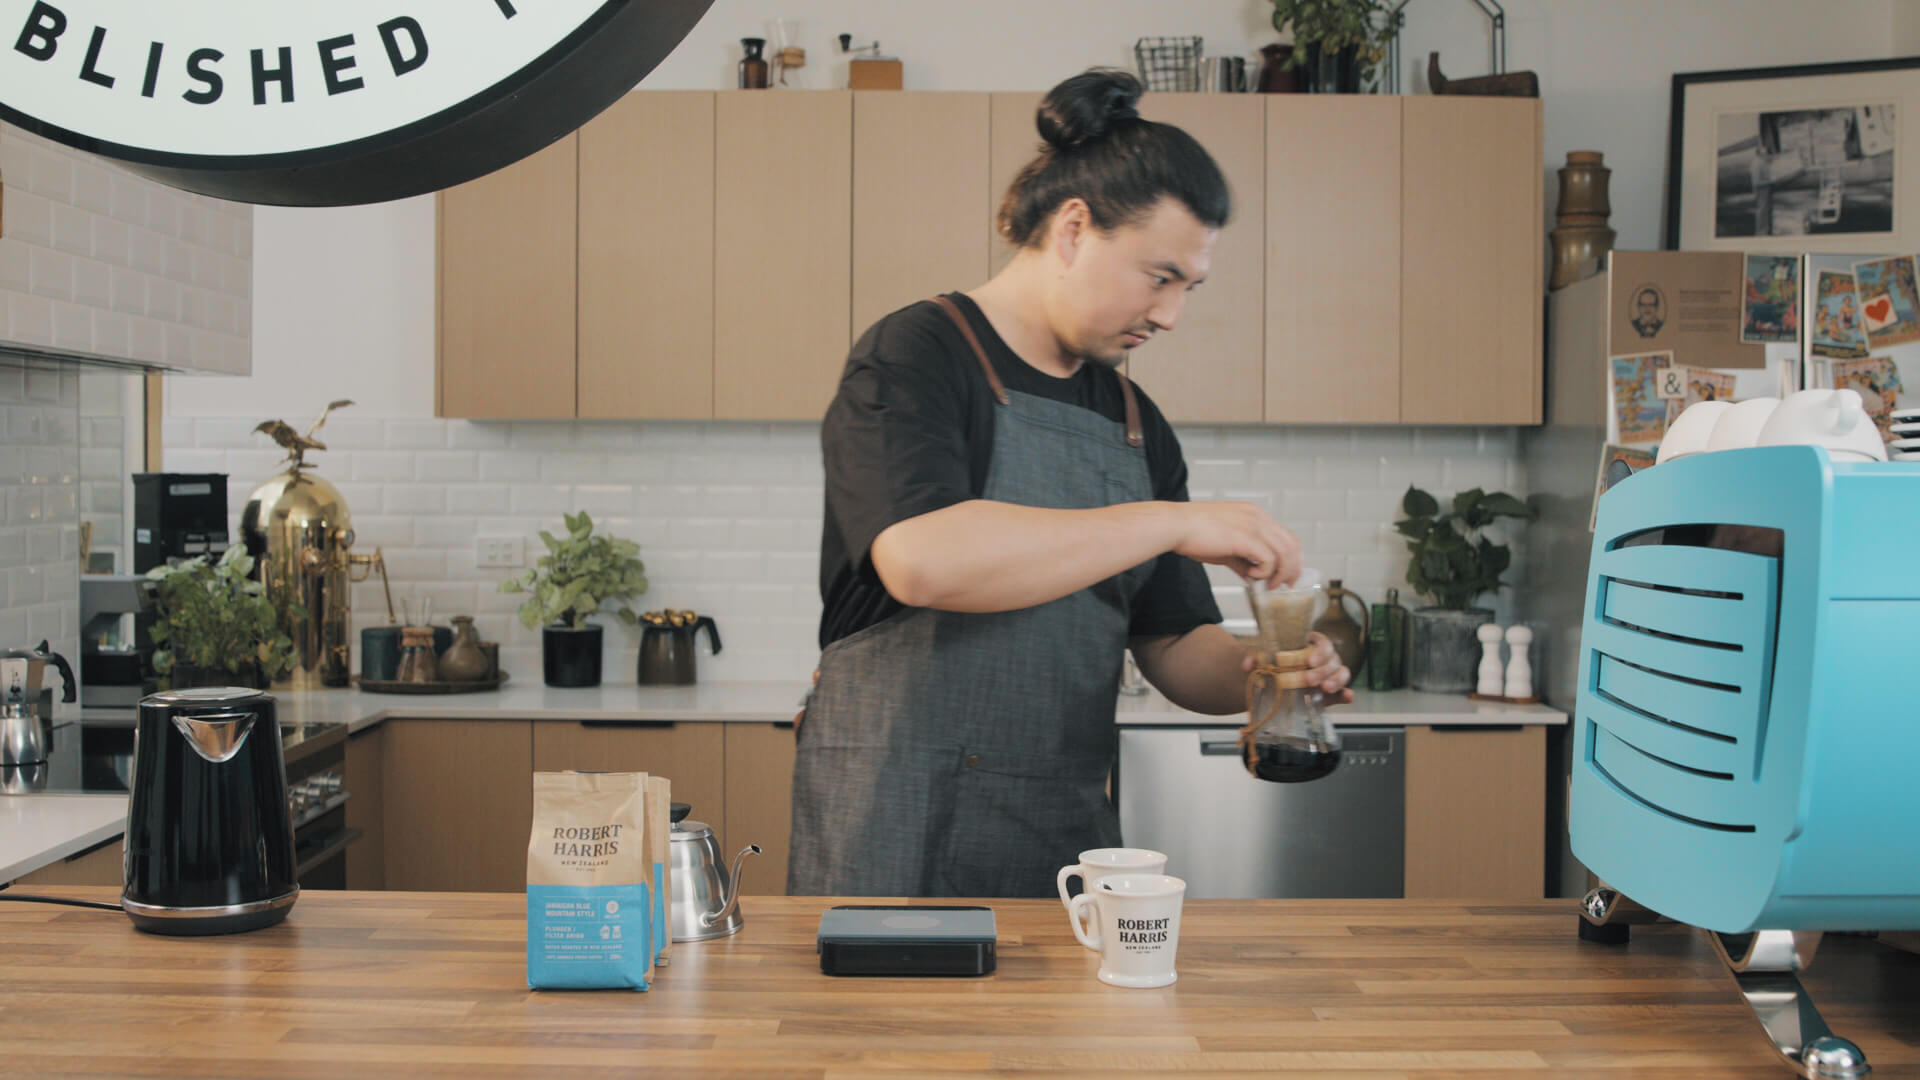
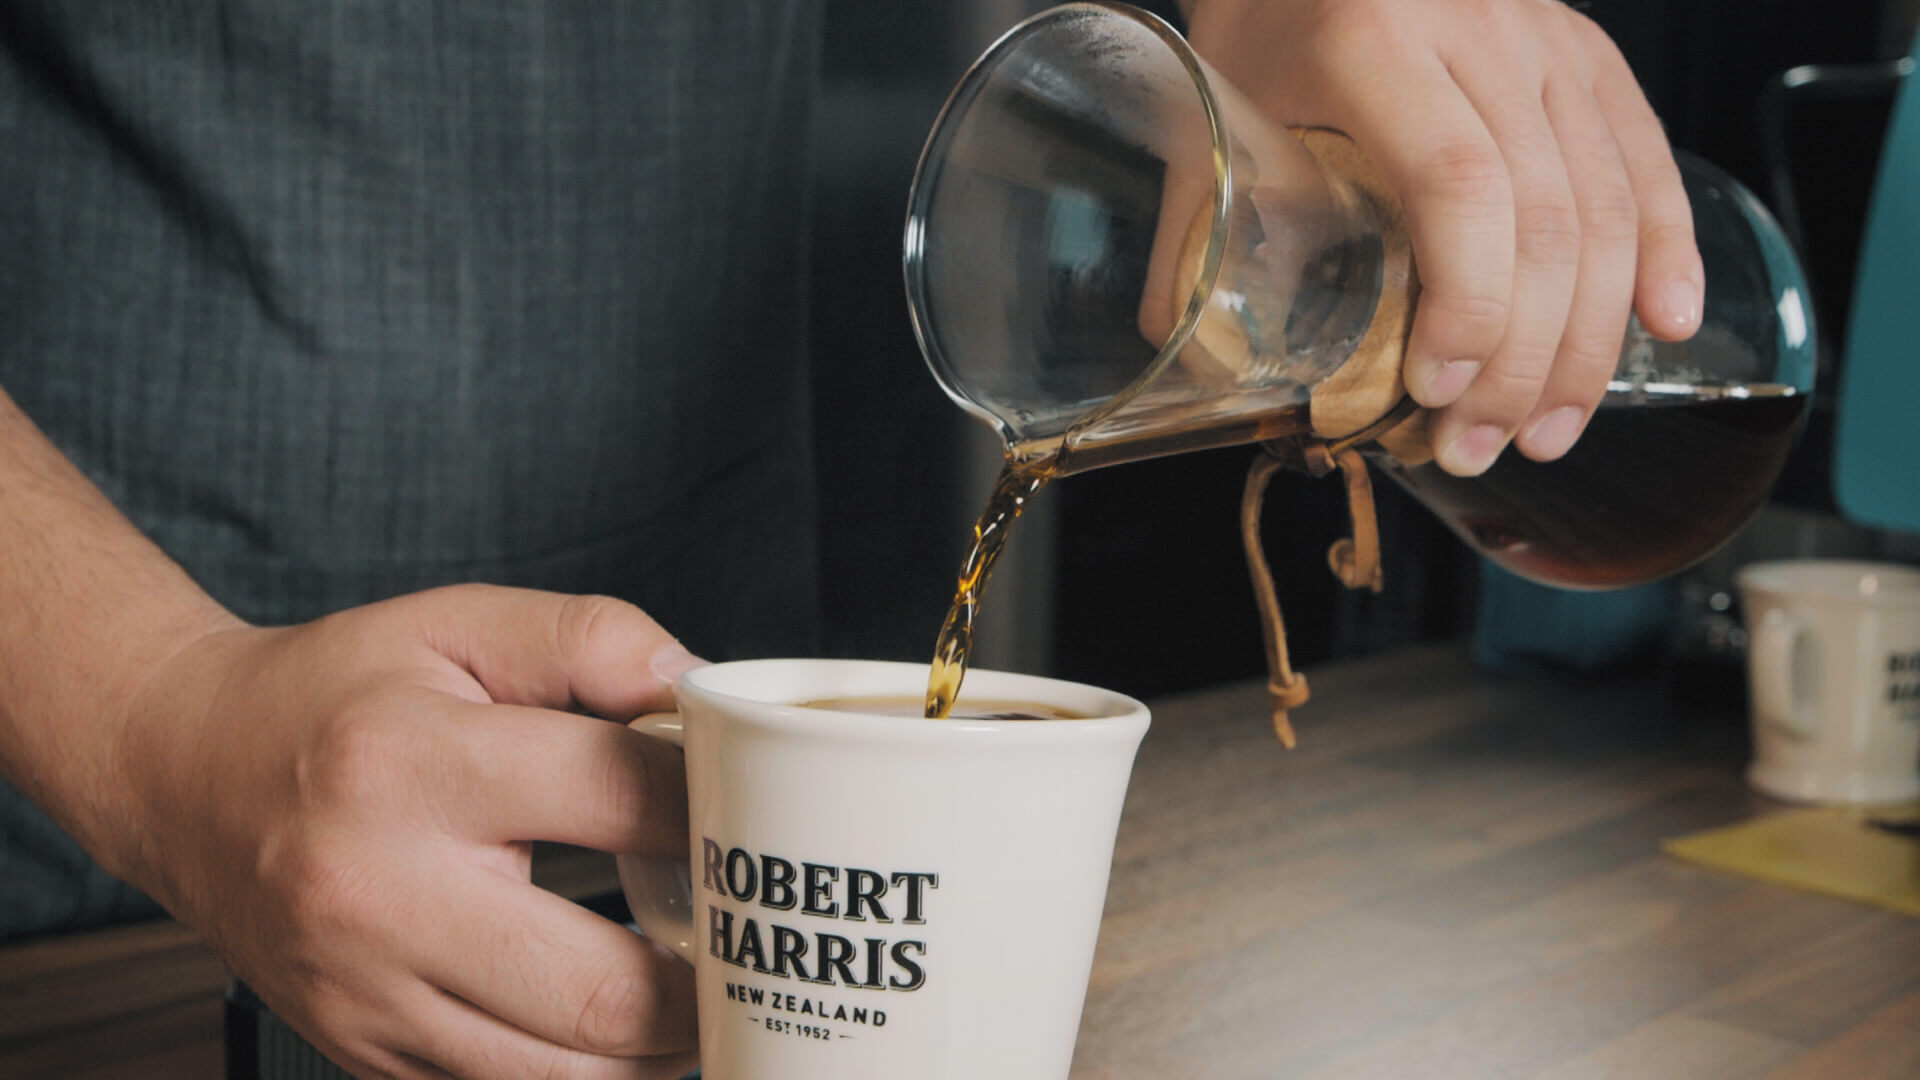
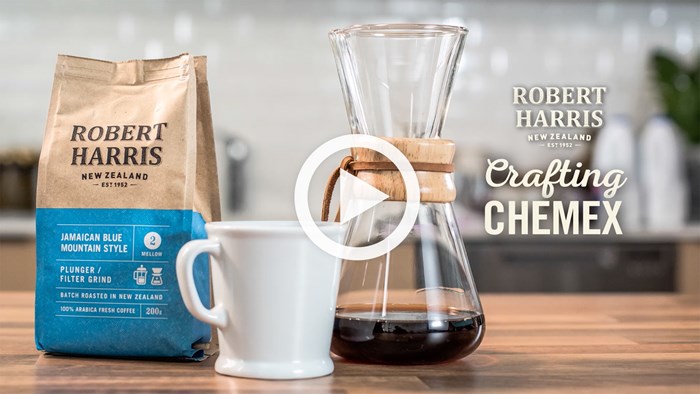
Chemex sounds a bit sci-fi, but in fact it’s a simple brew method (filter-drip) that extracts all the layers of the coffee flavour to deliver a delicious cup.

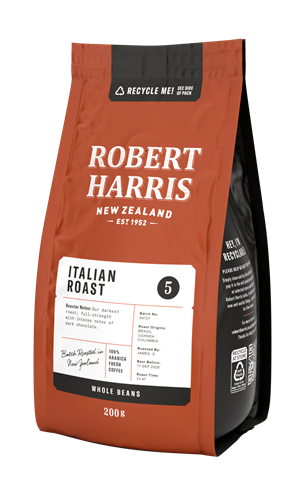
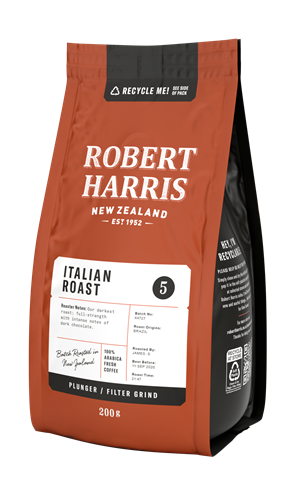
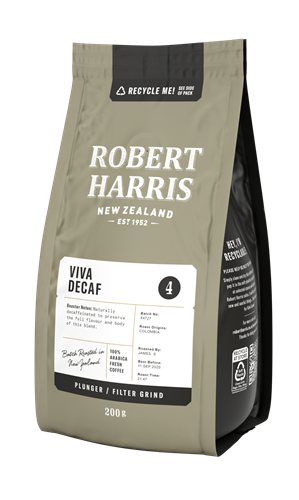
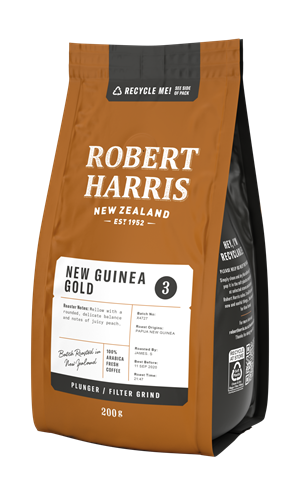
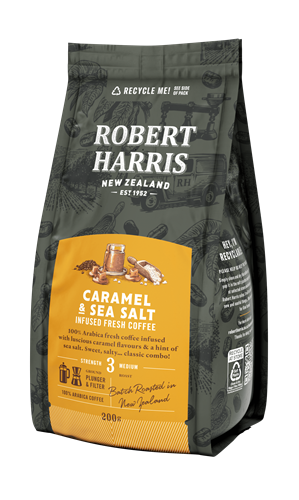
You can either grind your own beans to a medium grind (like sea salt) or use one of Robert Harris’ plunger filter grinds.

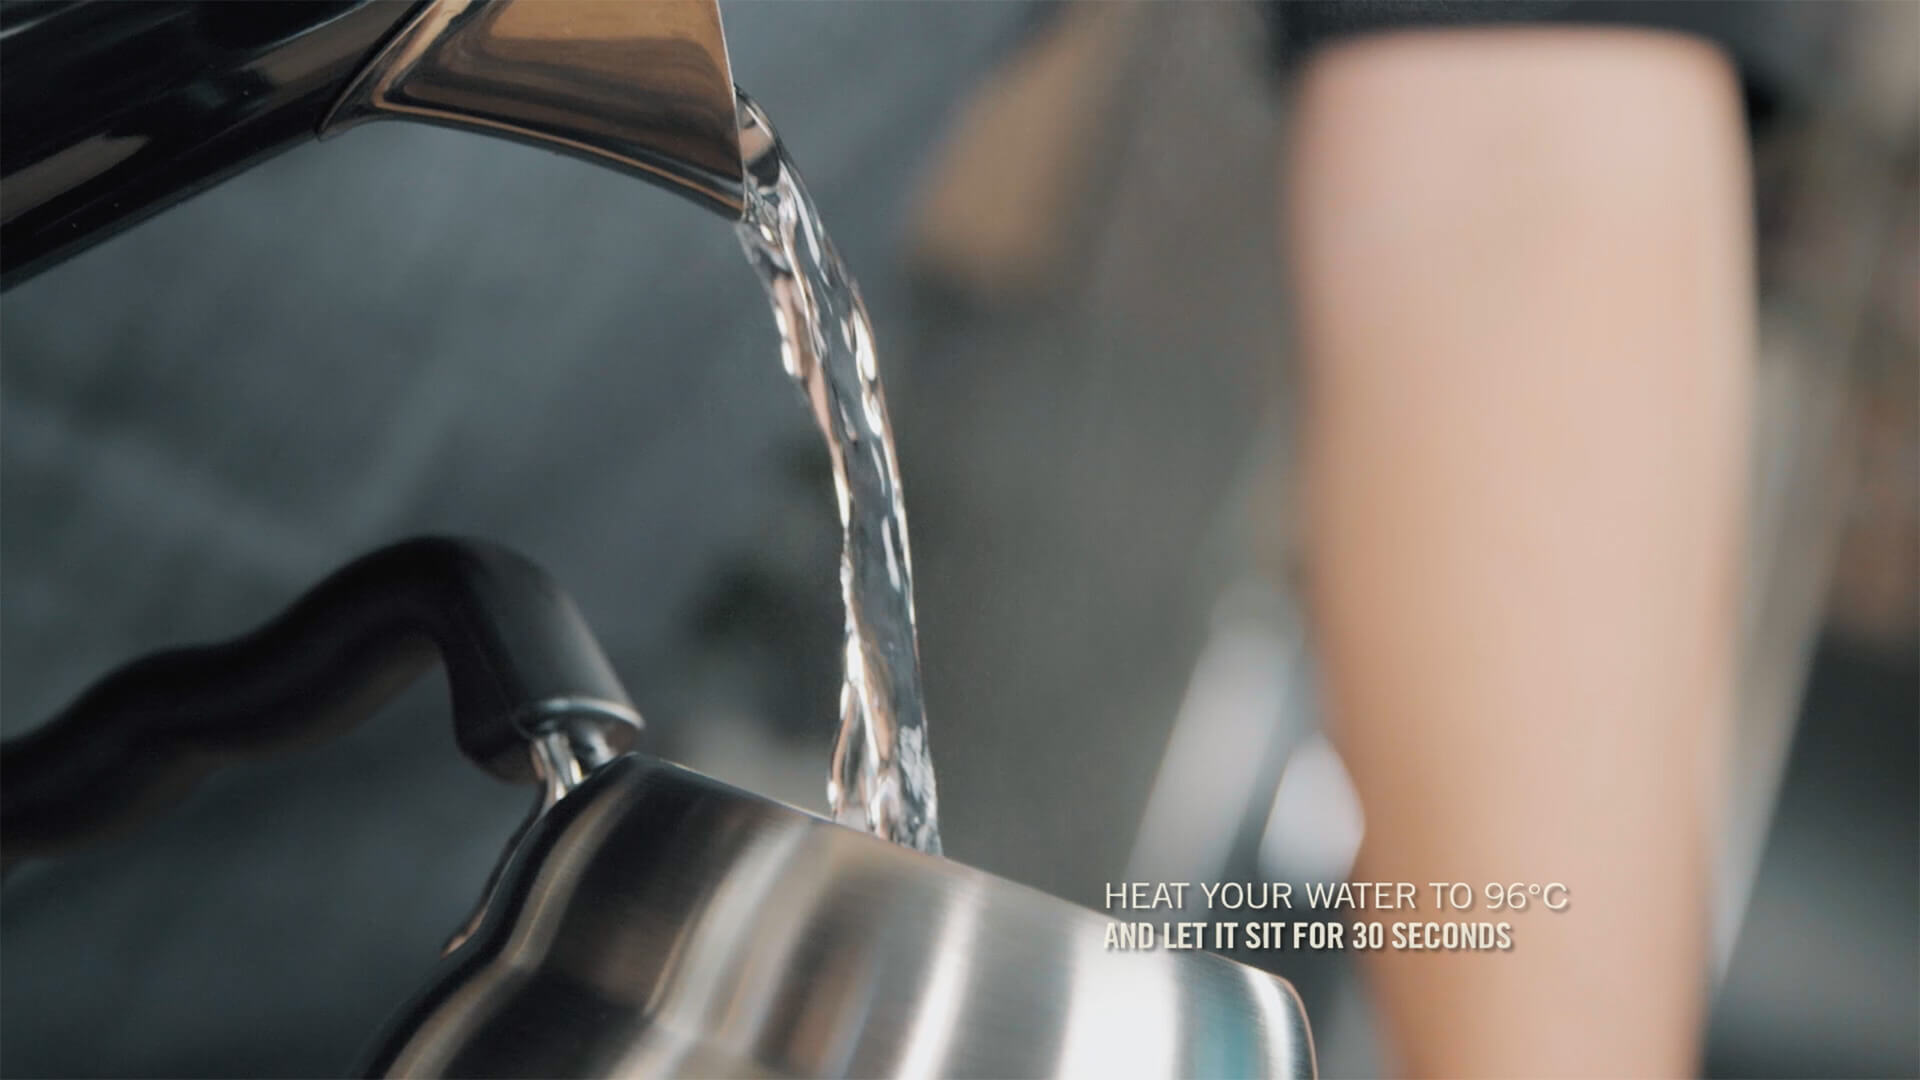
I’ll show you how to brew using the full range of equipment, but if you don’t have scales or a goose neck pouring kettle, don’t worry, you can still achieve a great cup.

What You Need

1. Chemex 3-cup or 6-cup brewer

2. Square Chemex filter

3. Robert Harris Plunger/Filter Coffee or Whole Beans

4. Pouring Kettle (gooseneck optional)

5. Timer

6. Scale (optional)

7. Thermometer (optional)

Explore Our Products

The Robert Harris guide to crafting Chemex:

1. Heat your water to 96 C and let it sit for 30 seconds, if you don’t have a thermometer, just boil the water in your standard jug and set aside for 30 seconds.

2. Unfold the Chemex filter and insert into the top of the brewer, make sure the 3-layered side of the filter is lined up with the pouring spout.

3. Pour hot water around the inside of the empty filter for 5 seconds. Hold the filter in place, then discard the water. Rinsing the filter helps seal it inside the dripper and removes any papery taste.

4. Place 1 rounded tablespoons of ground coffee per cup into the filter and gently shake the brewer to settle the grounds.

5. Place your Chemex on a scale (if you have one), start your timer and slowly pour over enough hot water to wet the grounds evenly (about 30gms). Let it sit for 30 seconds.

TIP: This is called ‘the bloom’, where the hot water releases the coffee gases, expanding the coffee bed (it smells delicious).

6. Then begin pouring continuously in a spiralling pattern. Try to avoid pouring directly in the centre or around the edges of the filter. If the water level nears the rim of the Chemex, pause for a moment to let it drain before continuing.

7. Stop pouring once your timer reads 2 minutes or your scale reads 450 grams.

8. Allow all the water to drain through the filter. Remove the filter from the dripper and discard the grounds.

9. The total brewing time should be between 2 minutes 45 seconds to 3 minutes.

TIP: If your final time was longer than 3 minutes, your grind was probably too fine. If your final time was shorter than 2 minutes & 45 seconds, your grind was probably too coarse. Make small adjustments to the grind next time you brew (if your grinding your own beans).

COFFEE FAQS

Oxygen, moisture, heat and light are the enemies of fresh coffee. Exposure to these elements will cause your coffee to taint or become stale. Always store your coffee in an airtight container in a cool, dark place - but not in your fridge or freezer.

If you grind your own beans, only grind what you need to make a coffee. Ground coffee that isn't stored properly will go stale.

The function of the one-way Aroma Fresh Valve™ on the packs is to let carbon dioxide out and prevent oxygen from entering the pack. When whole coffee beans are roasted carbon dioxide is released. This continues to be released from the beans for 48 hours after roasting.

To enable the freshly roasted beans to be packed as soon as possible after roasting without the packet swelling and bursting, a valve is utilised to retain aroma and to ensure optimum freshness.

Grind choice is extremely important. Using a plunger grind in an espresso machine will mean you have a watery and weak coffee. If you use an espresso grind in a plunger you will find it hard to plunge and it is likely you will end up with grits and grinds in your coffee cup.

Espresso ground coffee is extremely fine and is designed to have the water passed through under pressure in a matter of 20-30 seconds. A plunger grind is coarse and designed to brew for 4 minutes. The coarse grind also means that when you plunge the coffee the water can freely pass through the coffee.

A Flat White is a single shot of coffee topped with velvety milk creating a 5-8mm cap. 

A Caffe Latte is a double shot of coffee (or single shot) topped with velvety milk creating a 6-10mm cap.  Traditionally served in a glass.

It is recommended to use water that is just off the boil.  This means either 30-60 seconds after it has boiled, or turn the jug off just before it has boiled.  Boiling water can burn the beans.

The beauty of these plunger bags is they will suit any occasion. Each plunger bag makes two cups, and multiple bags can be placed in the plunger.

So if you have a 6 cup plunger, place 3 x plunger bags in the plunger and add 4 ½ - 6 cups of water depending on strength preference and cup size.

We recommend placing no more than 3 bags per plunger.