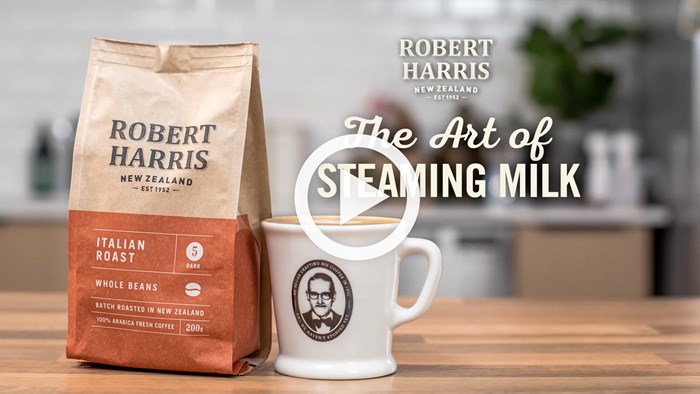
Here’s how to craft perfectly steamed milk for your Robert Harris espresso. Heating milk melts the fats, sweetens the sugars and when air is injected, it changes the proteins to form delicious creamy foam and that’s what tastes so good!
Here’s how to craft perfectly steamed milk for your Robert Harris espresso. Heating milk melts the fats, sweetens the sugars and when air is injected, it changes the proteins to form delicious creamy foam and that’s what tastes so good!
1. Espresso Machine (Steam Wand)
2. Milk
3. Milk Jug
4. Thermometer
The Robert Harris Guide for Delicious Steamed Milk:
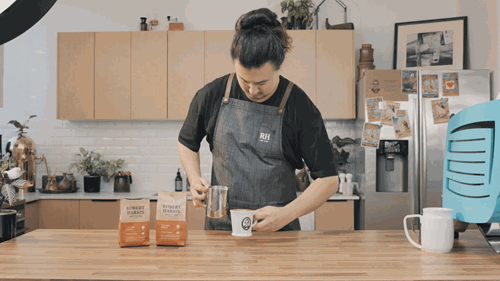
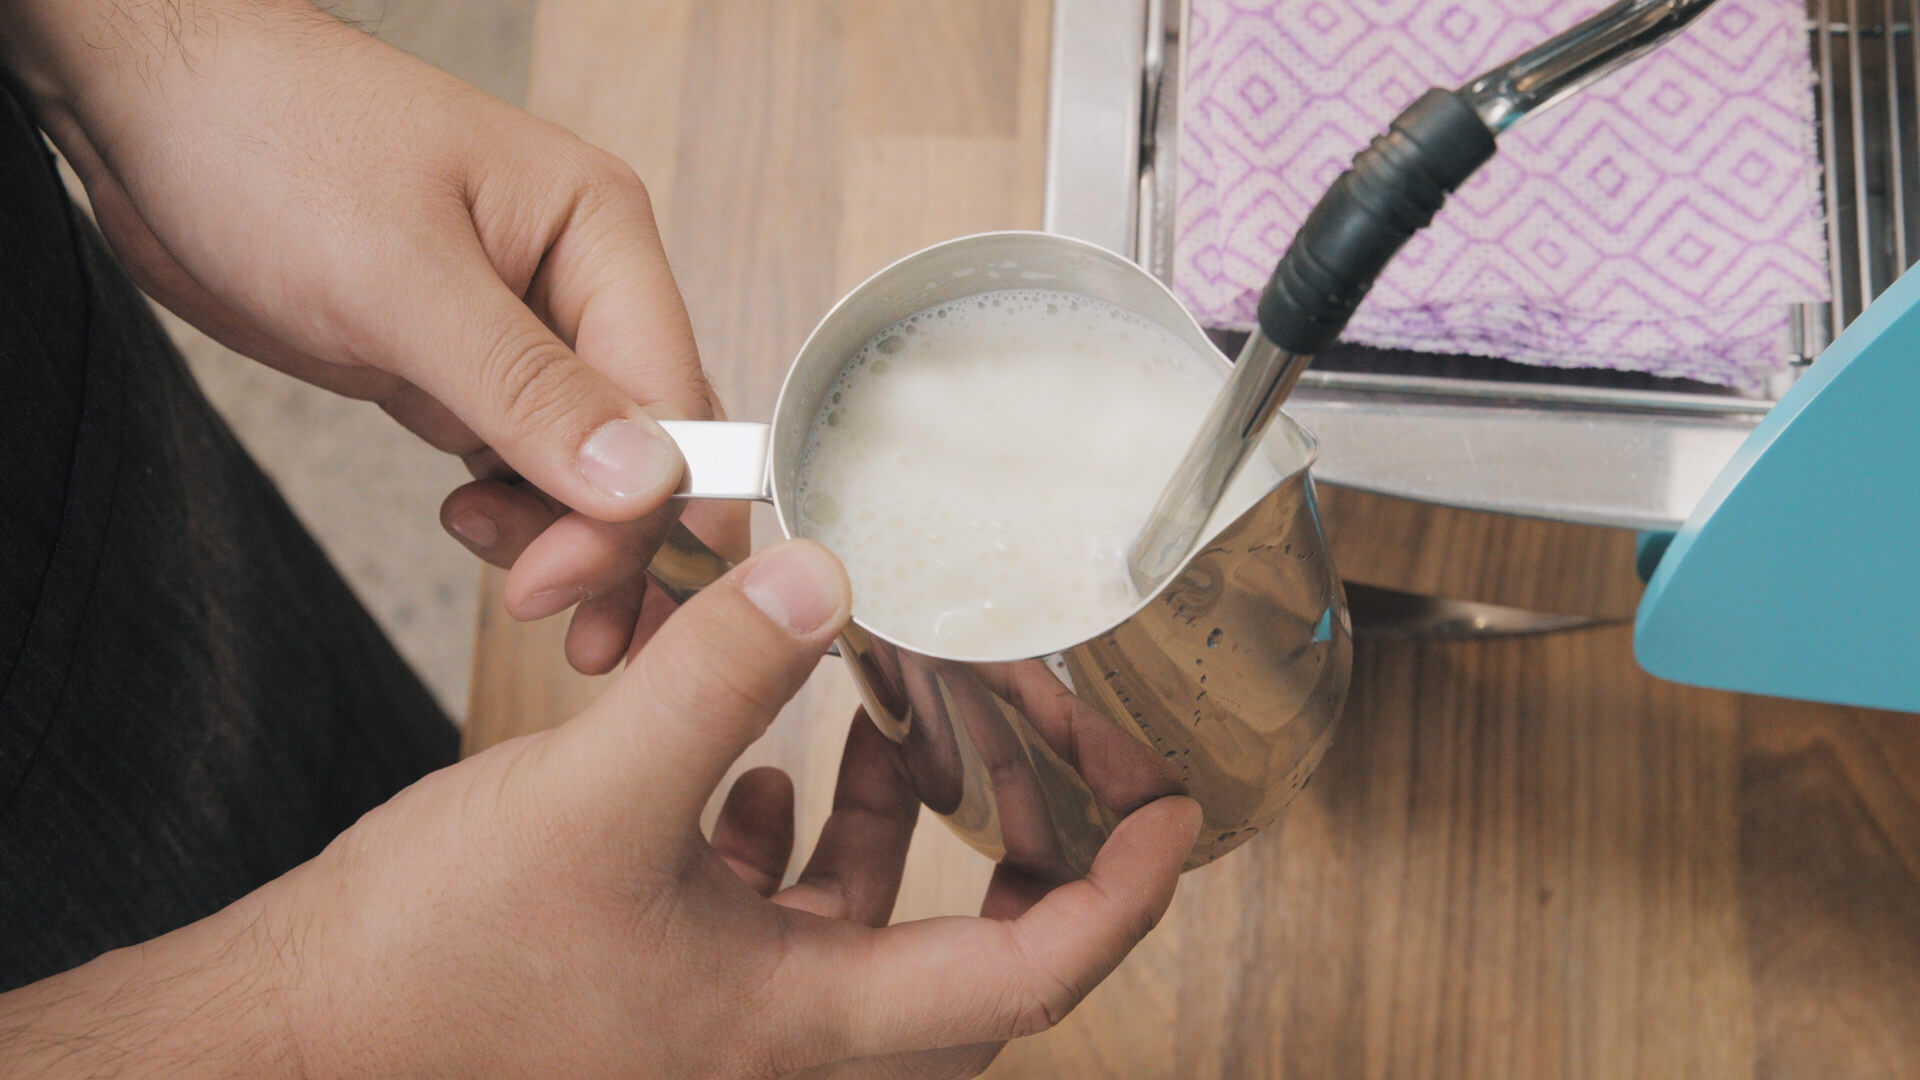
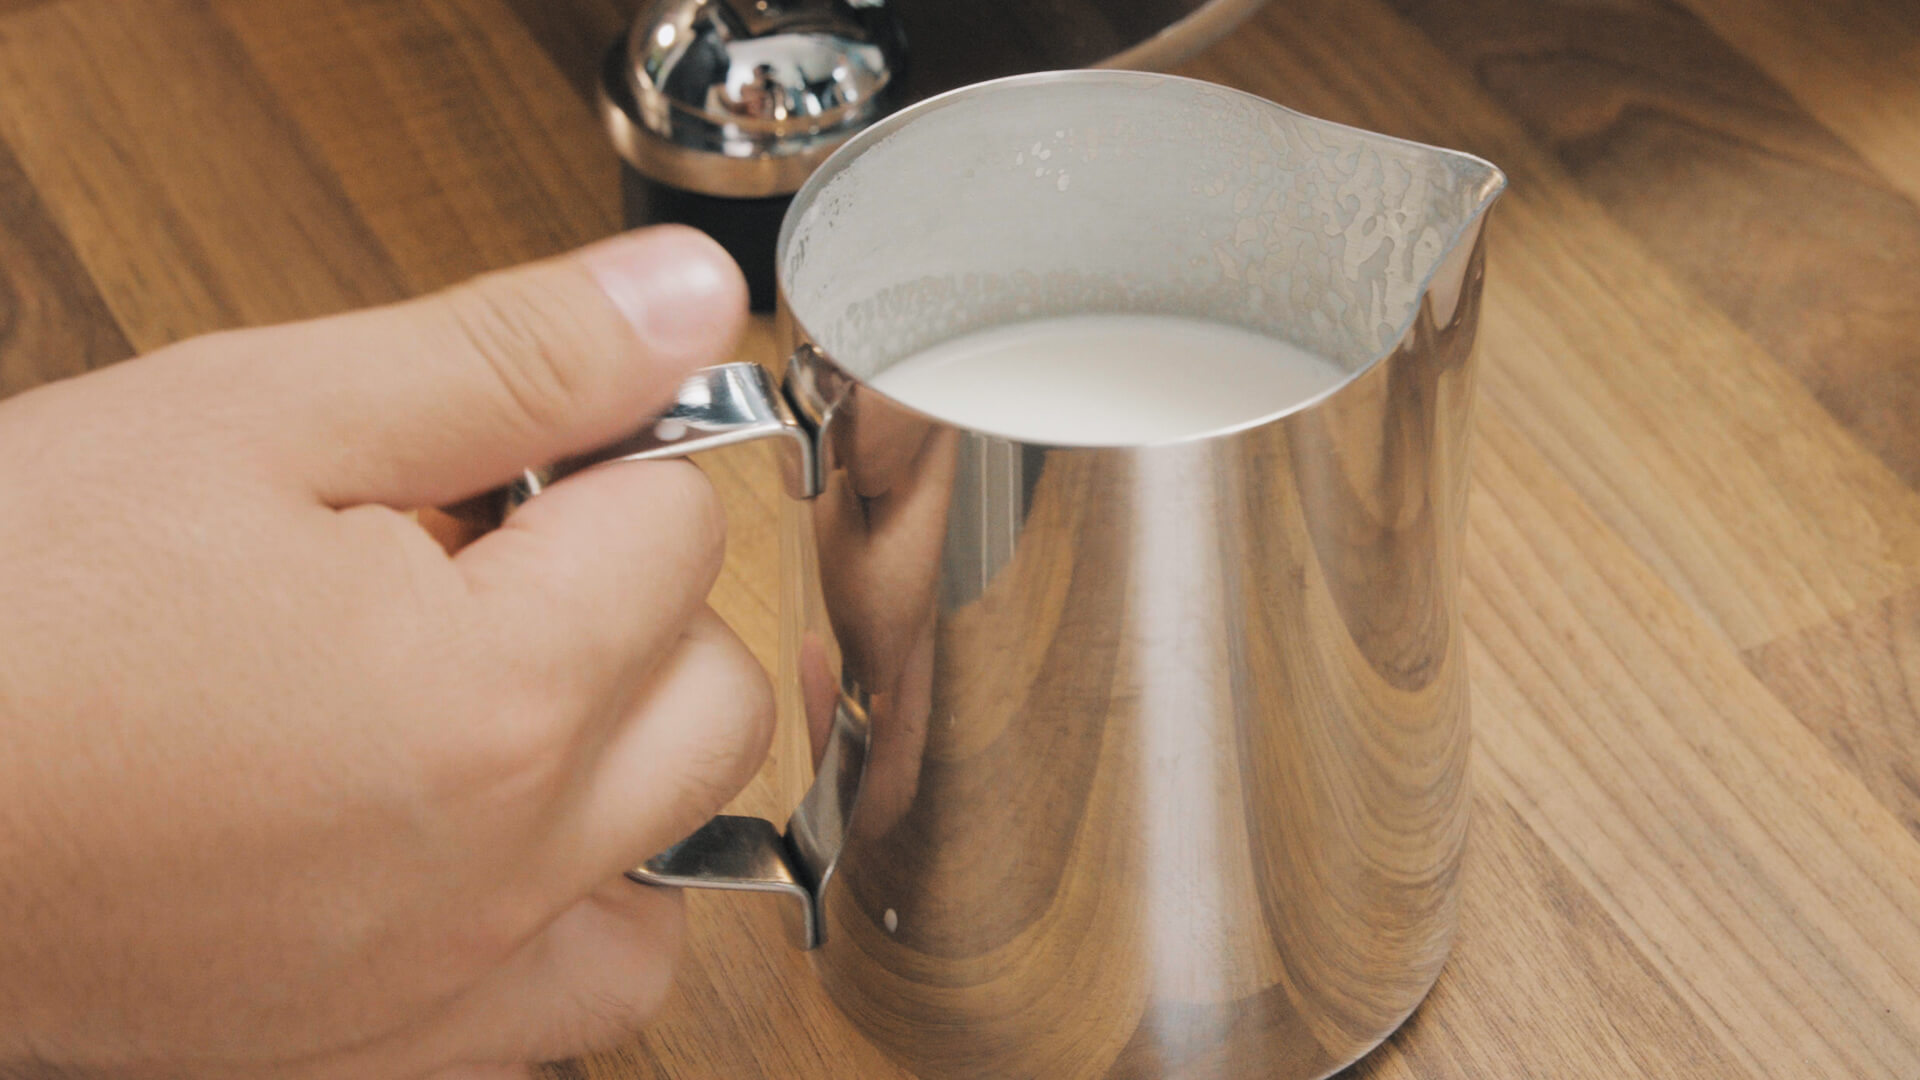
1. Half fill a clean milk jug with fresh cold milk.
2. Purge your wand (turn the steam on and off) to clear any milk build up.
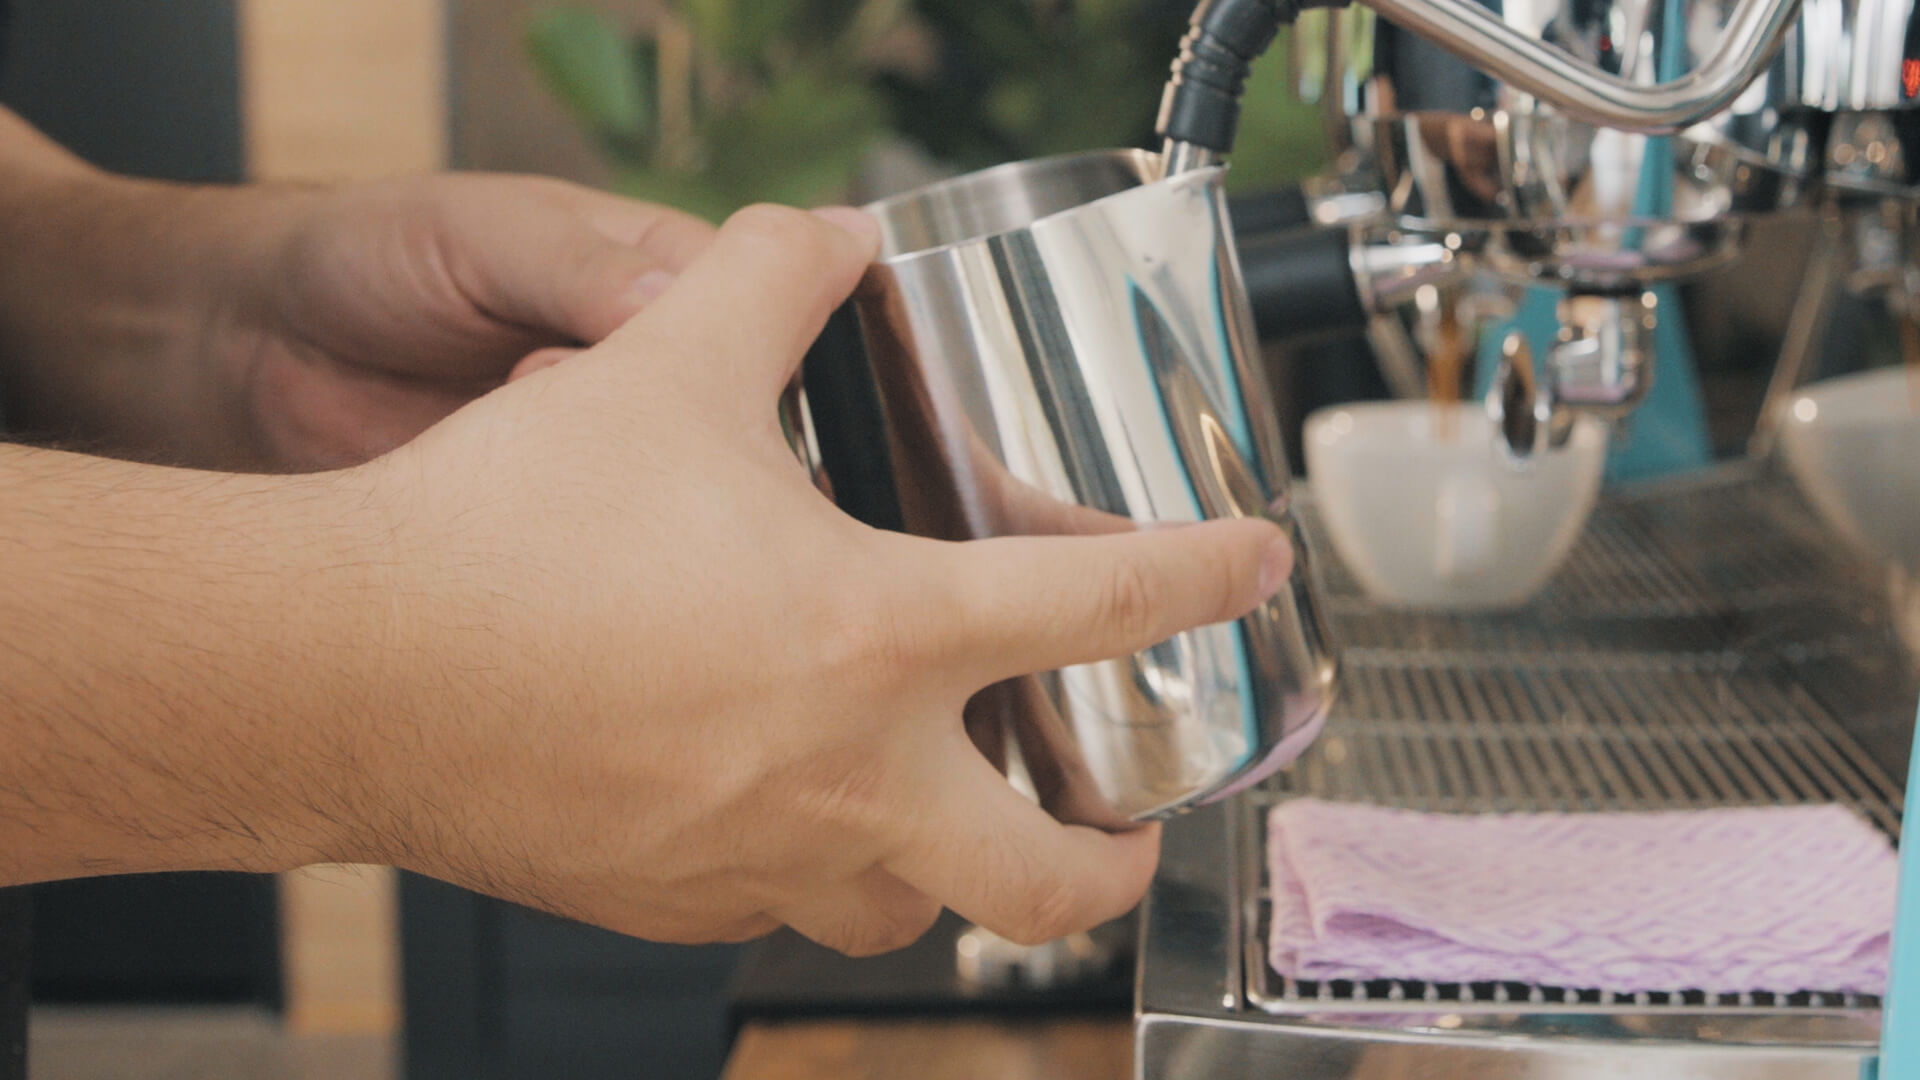
3. Hold the handle of the milk jug with one hand and have a firm grip on the base of the jug with the other.
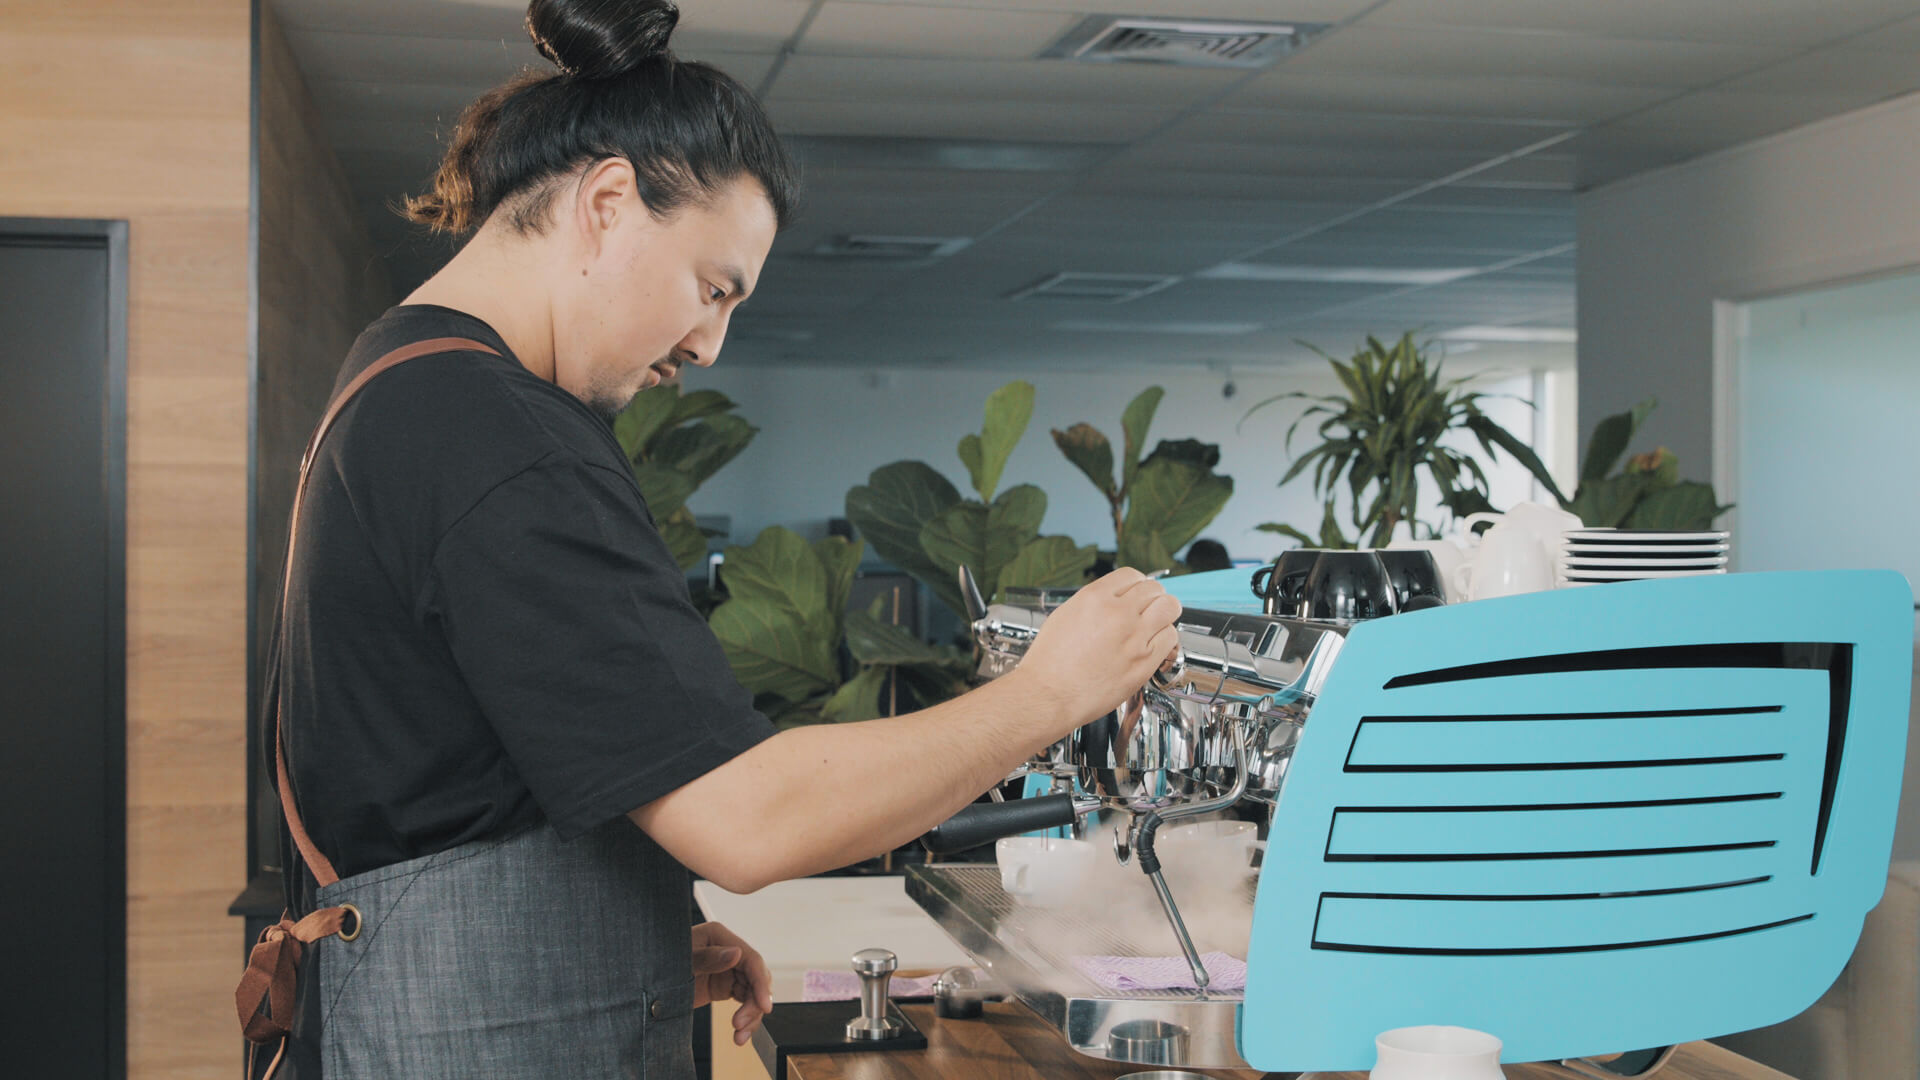
4. Insert the steam wand into the right or left quadrant of the jug, on a slight angle, just under the surface of the milk (about 1cm).
5. Open the steam valve fully to start injecting steam into the milk to create foam.
6. Listen for this sound, (a ch.. ch.. ch…), it tells you that you’re steaming correctly. This process is called ‘stretching the milk’.
TIP: Don’t let the wand break the surface of the milk, as this will create big bubbles, you’ll hear vigorous bubbling - this is called overstretching. If your wand is too deep in the milk you won’t create foam, and then you’ll hear a screaming sound.
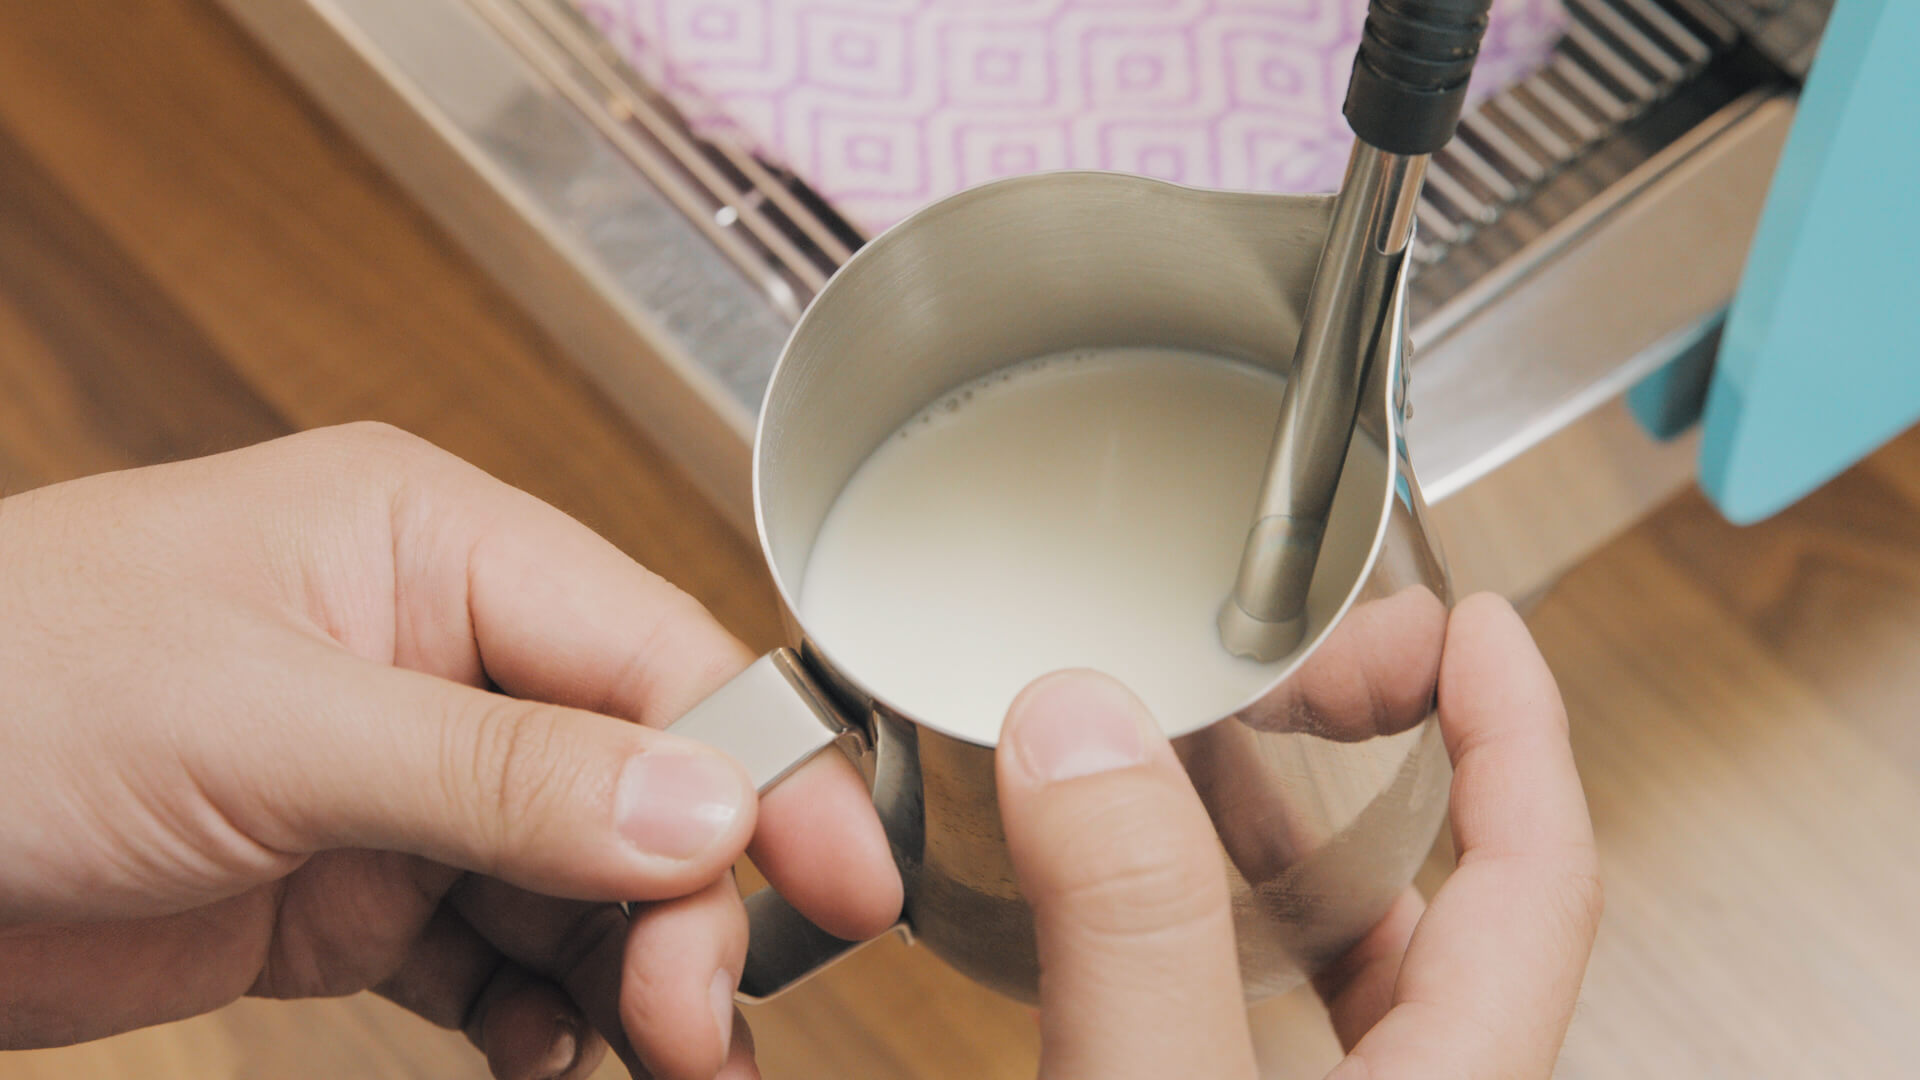
7. After stretching for 5-10 seconds (you’ll feel the jug will come up to body temperature), submerge the steam tip under the surface.
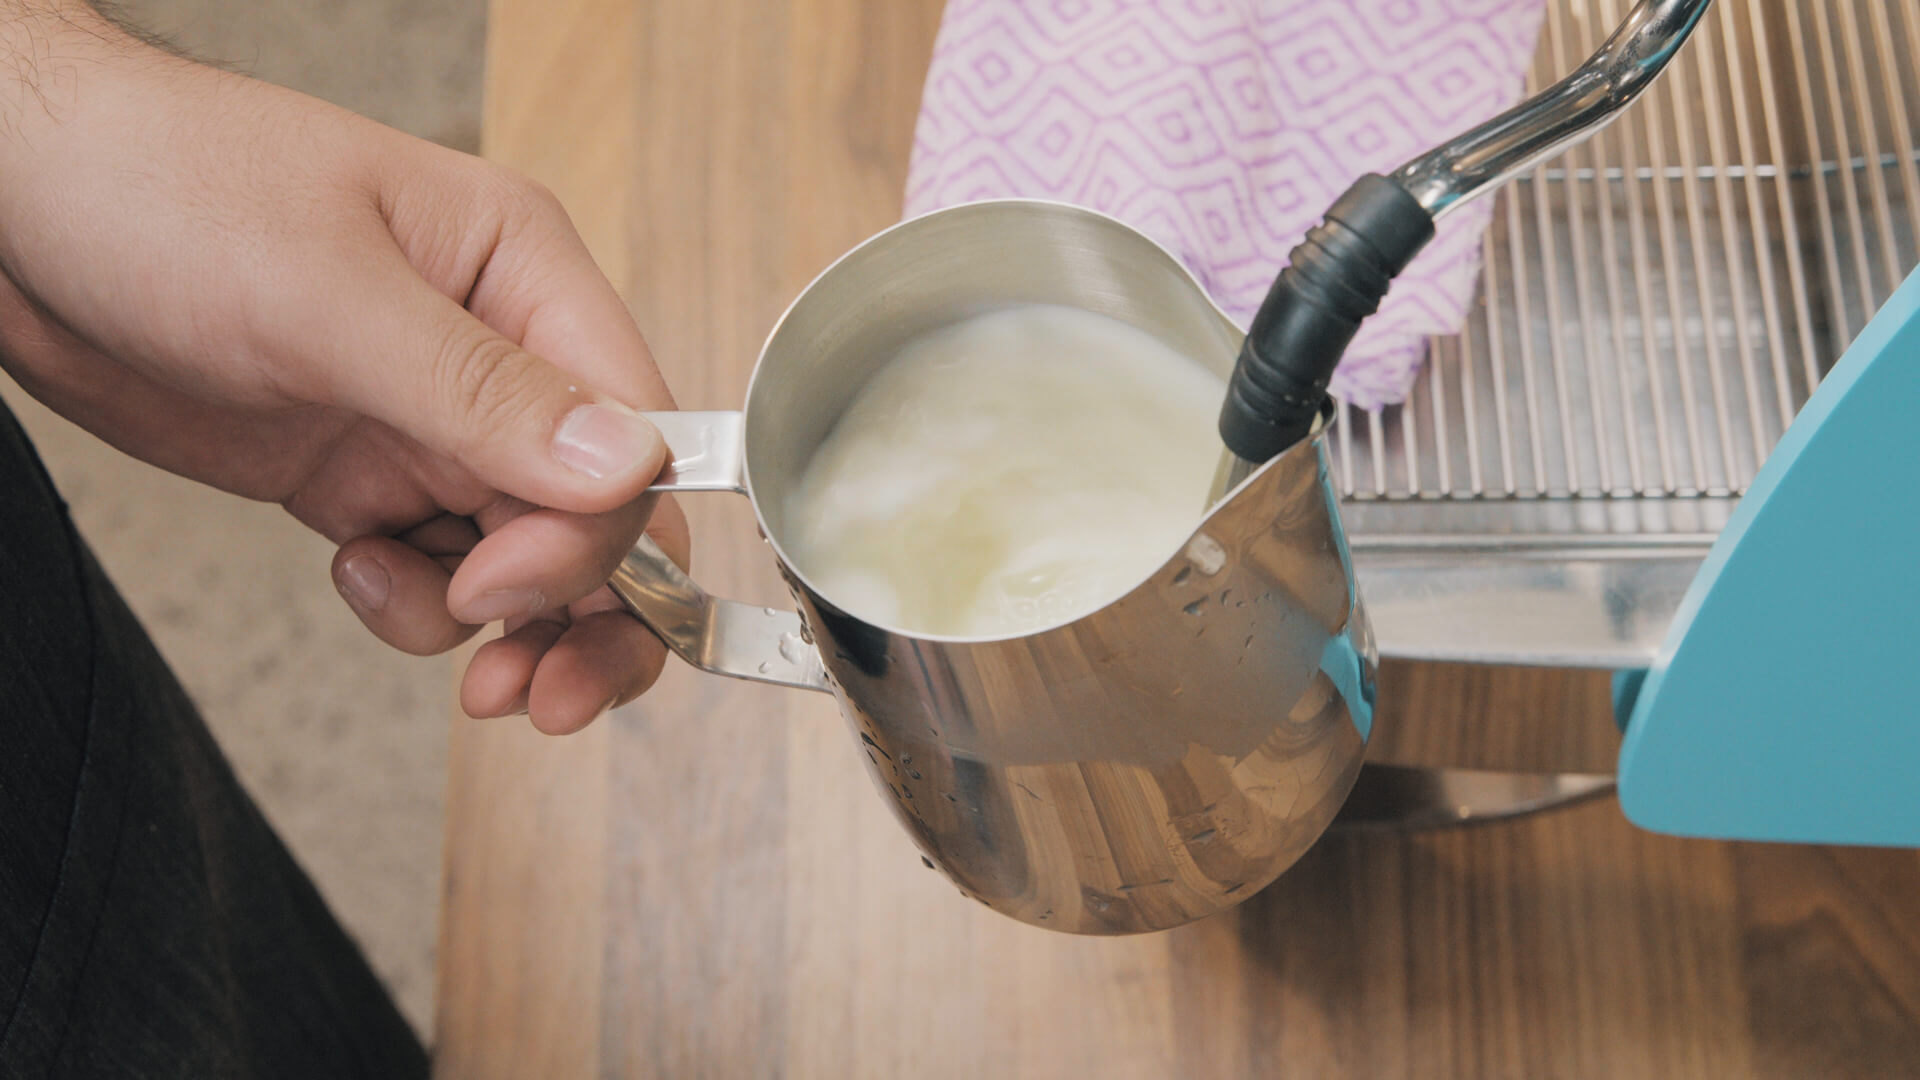
8. Create a milk whirlpool by tilting the jug so the milk ‘hits’ against the side of the jug – this reduces the size of the bubbles creating microfoam which gives the lovely silky texture.
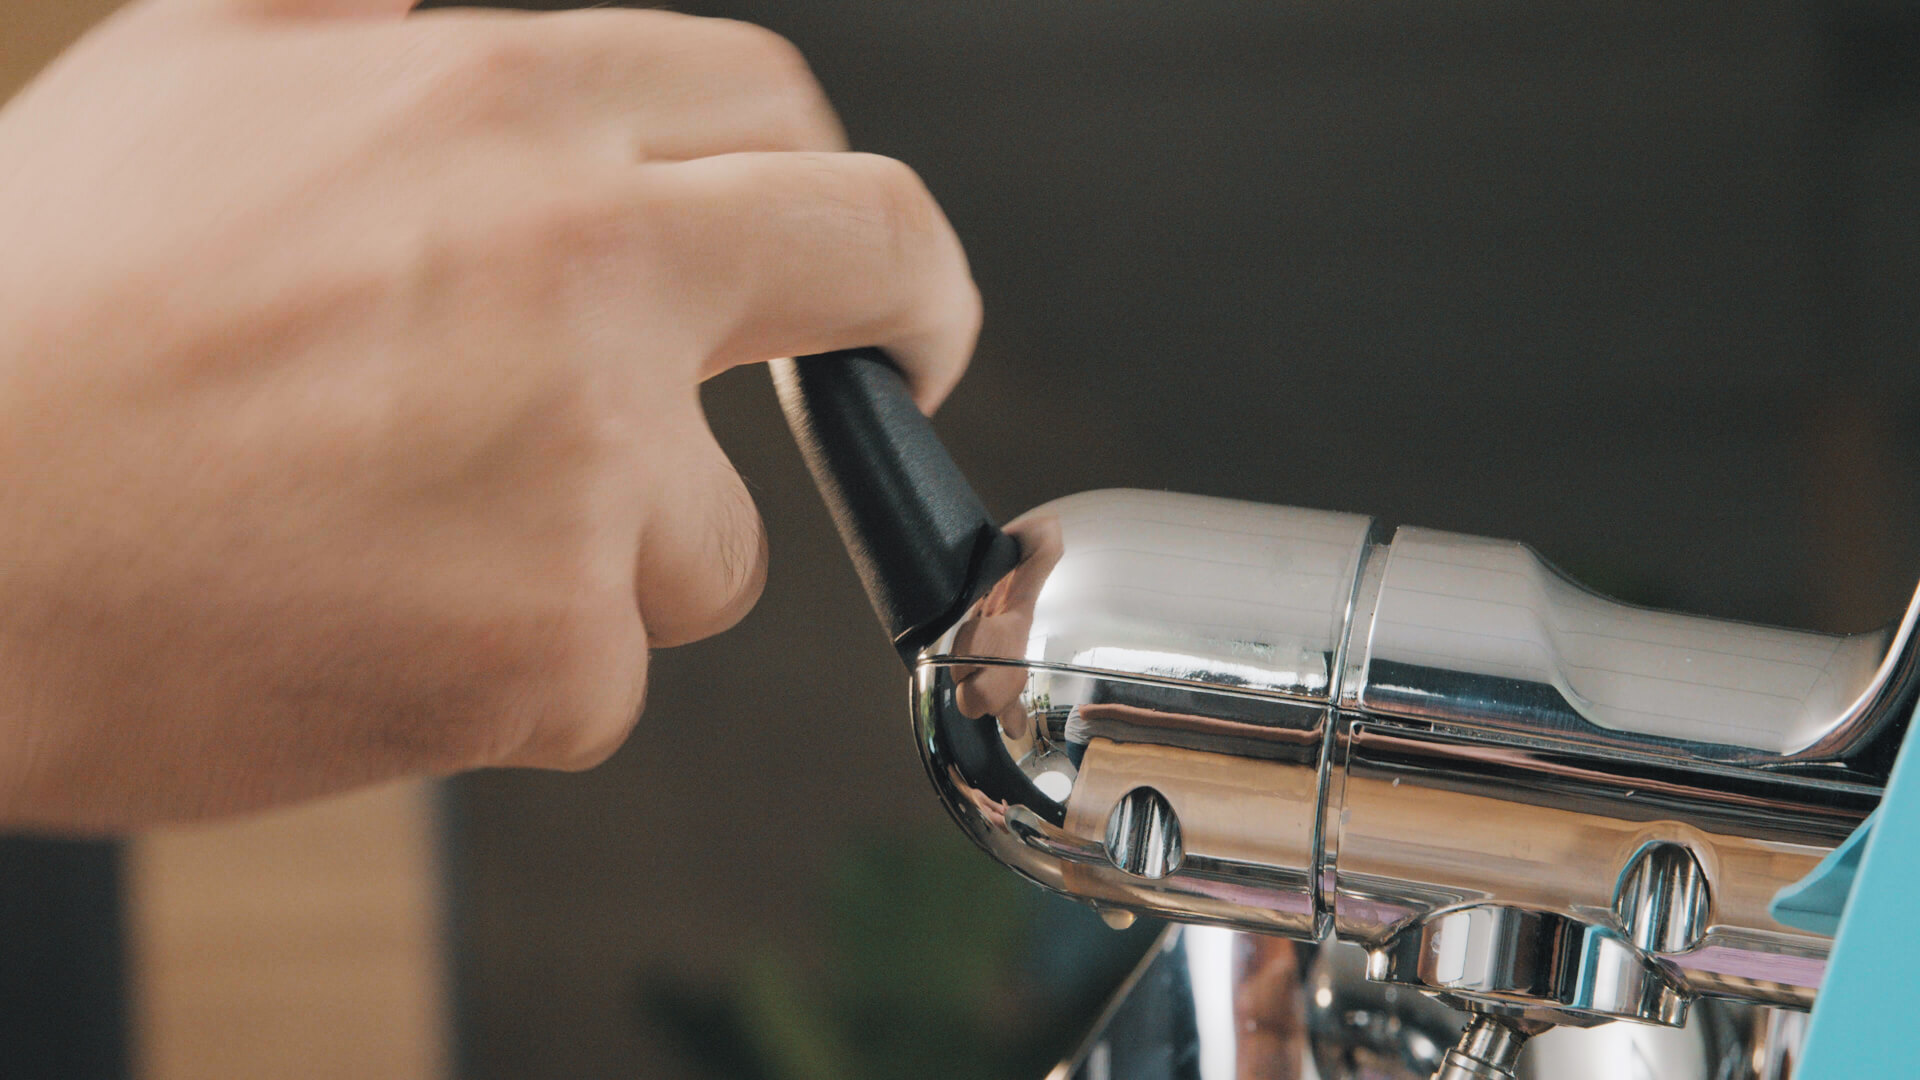
9. Once the jug is too hot to hold (3-5 sec) or 60˚C - turn off the steam.
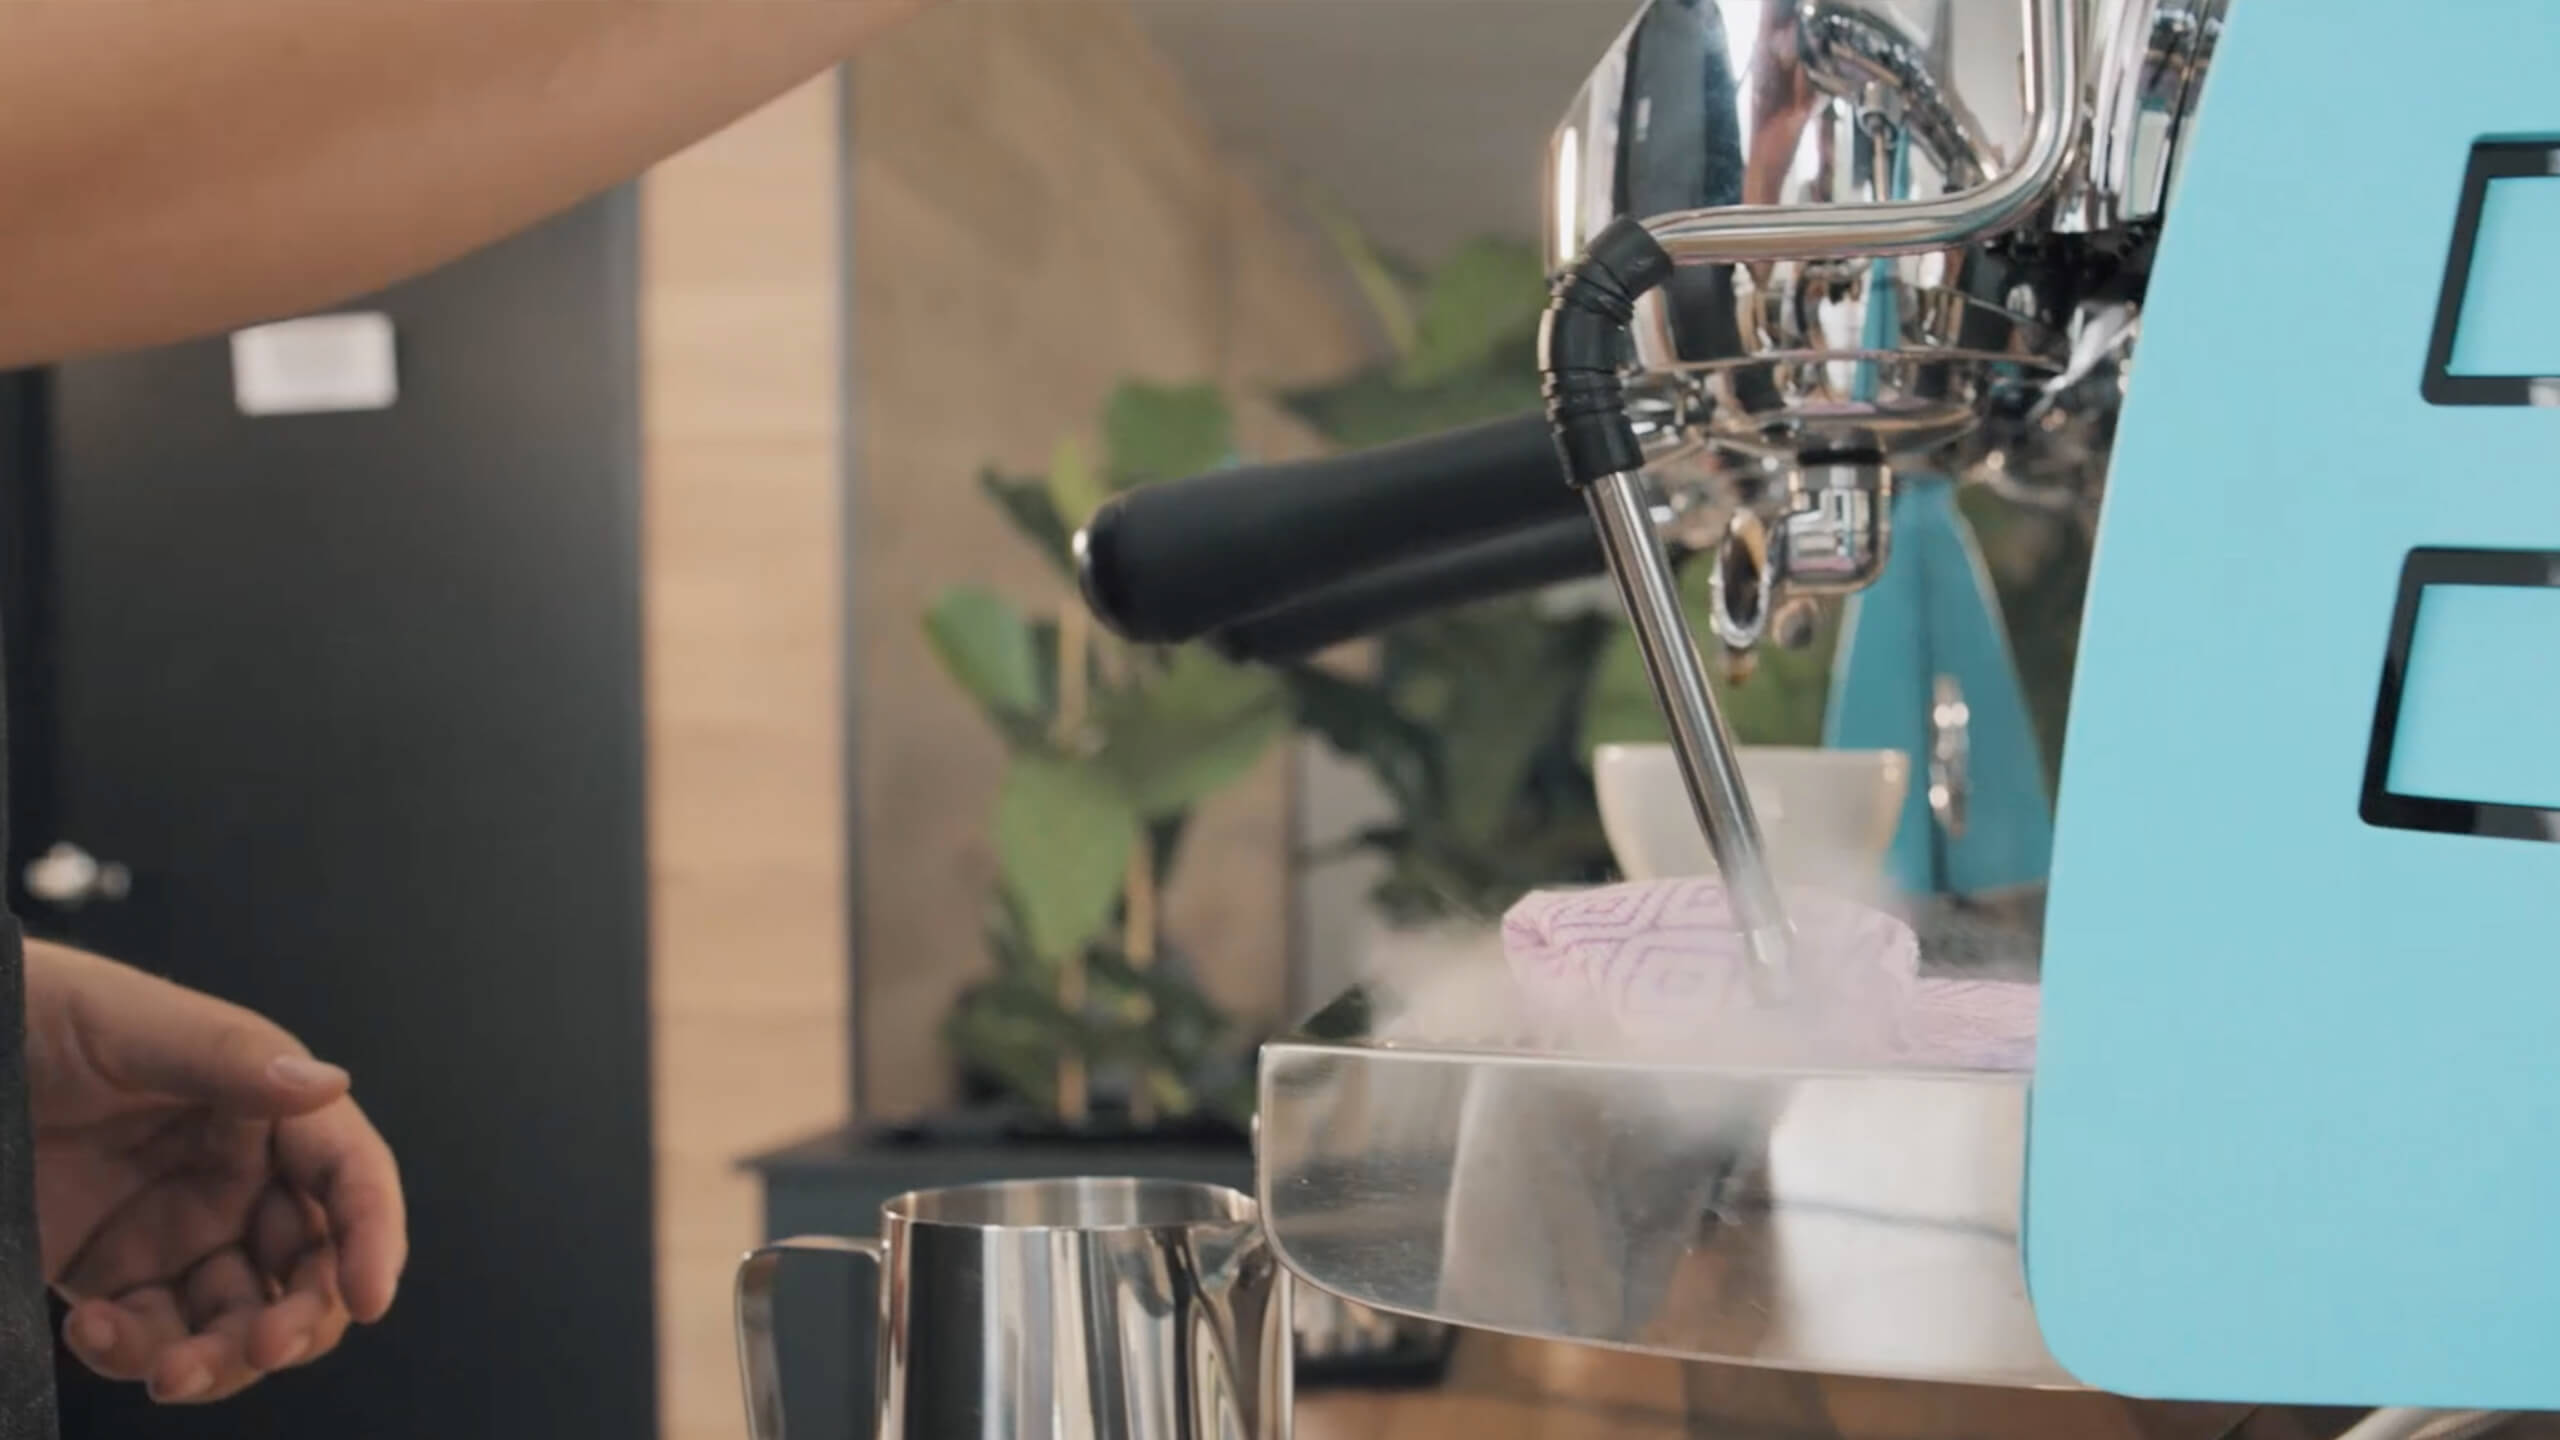
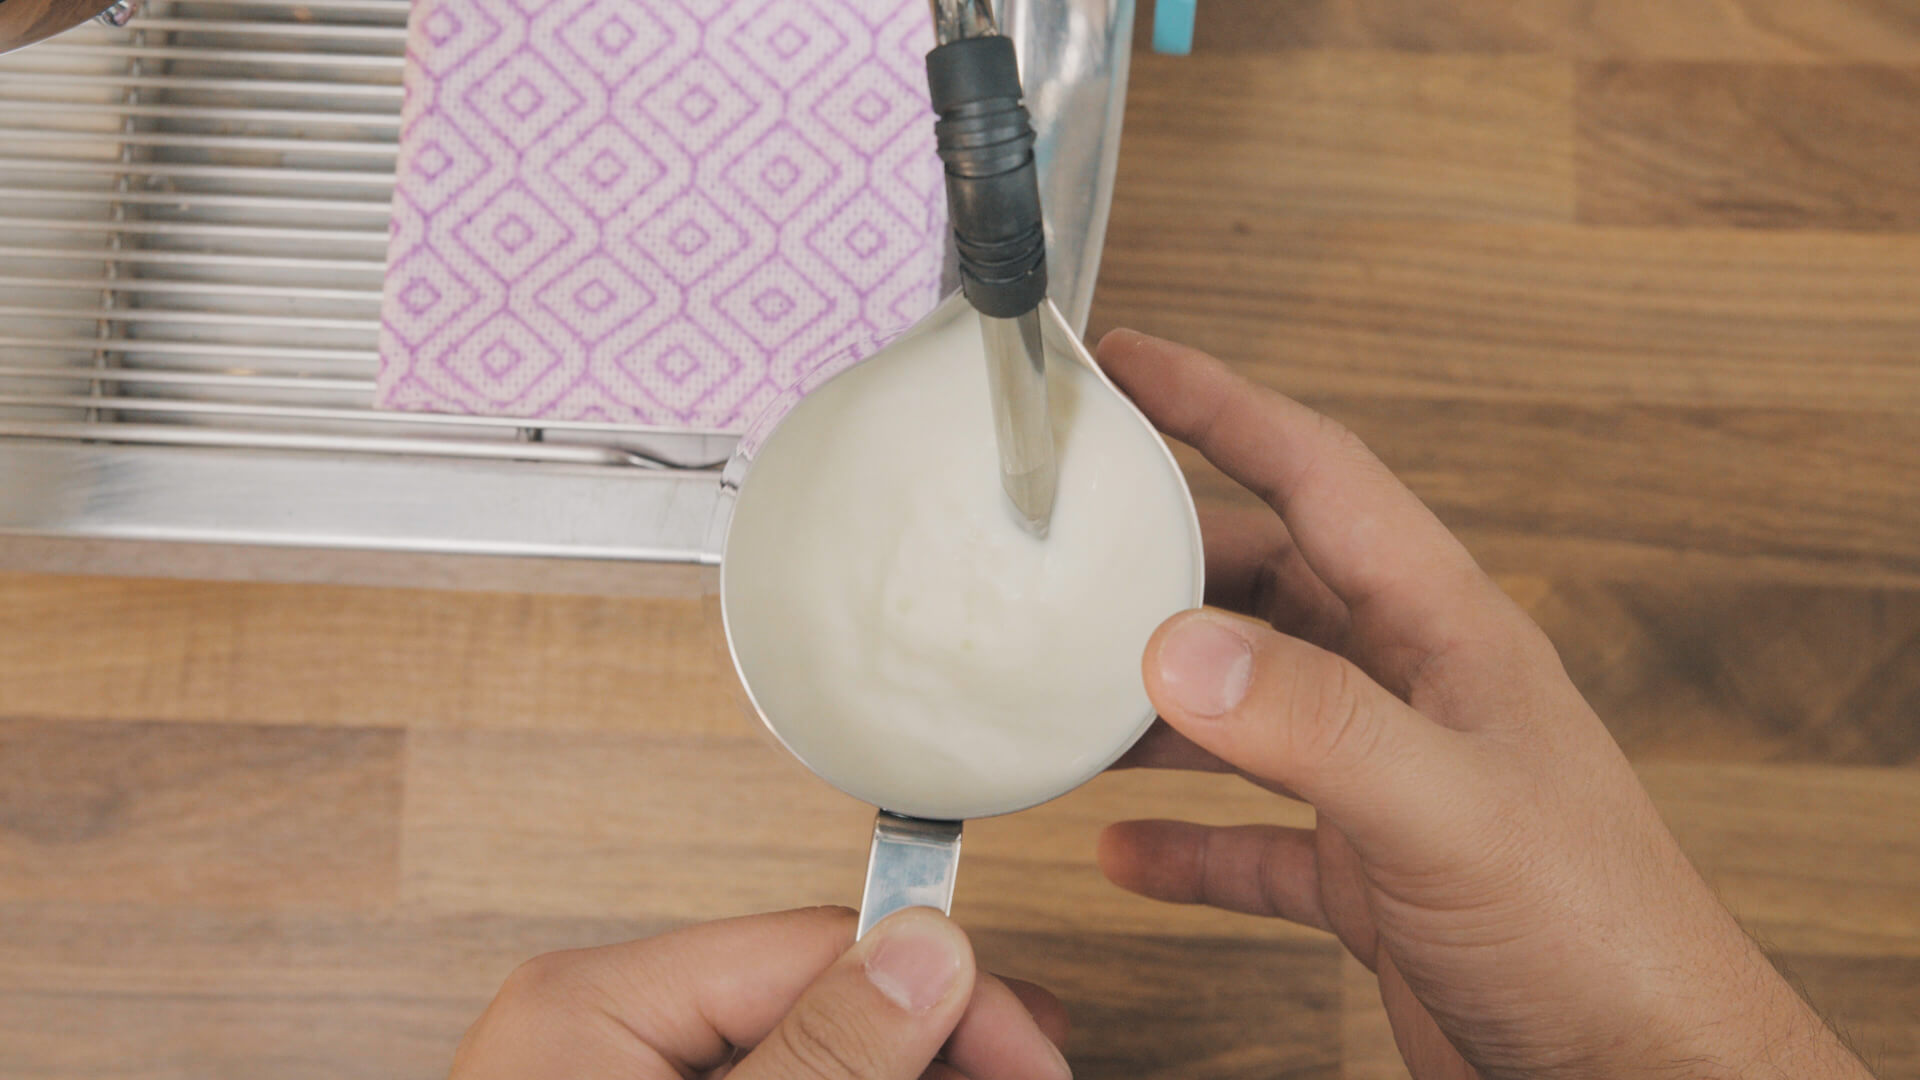
10. Wipe the steam wand with a damp cloth and purge again.
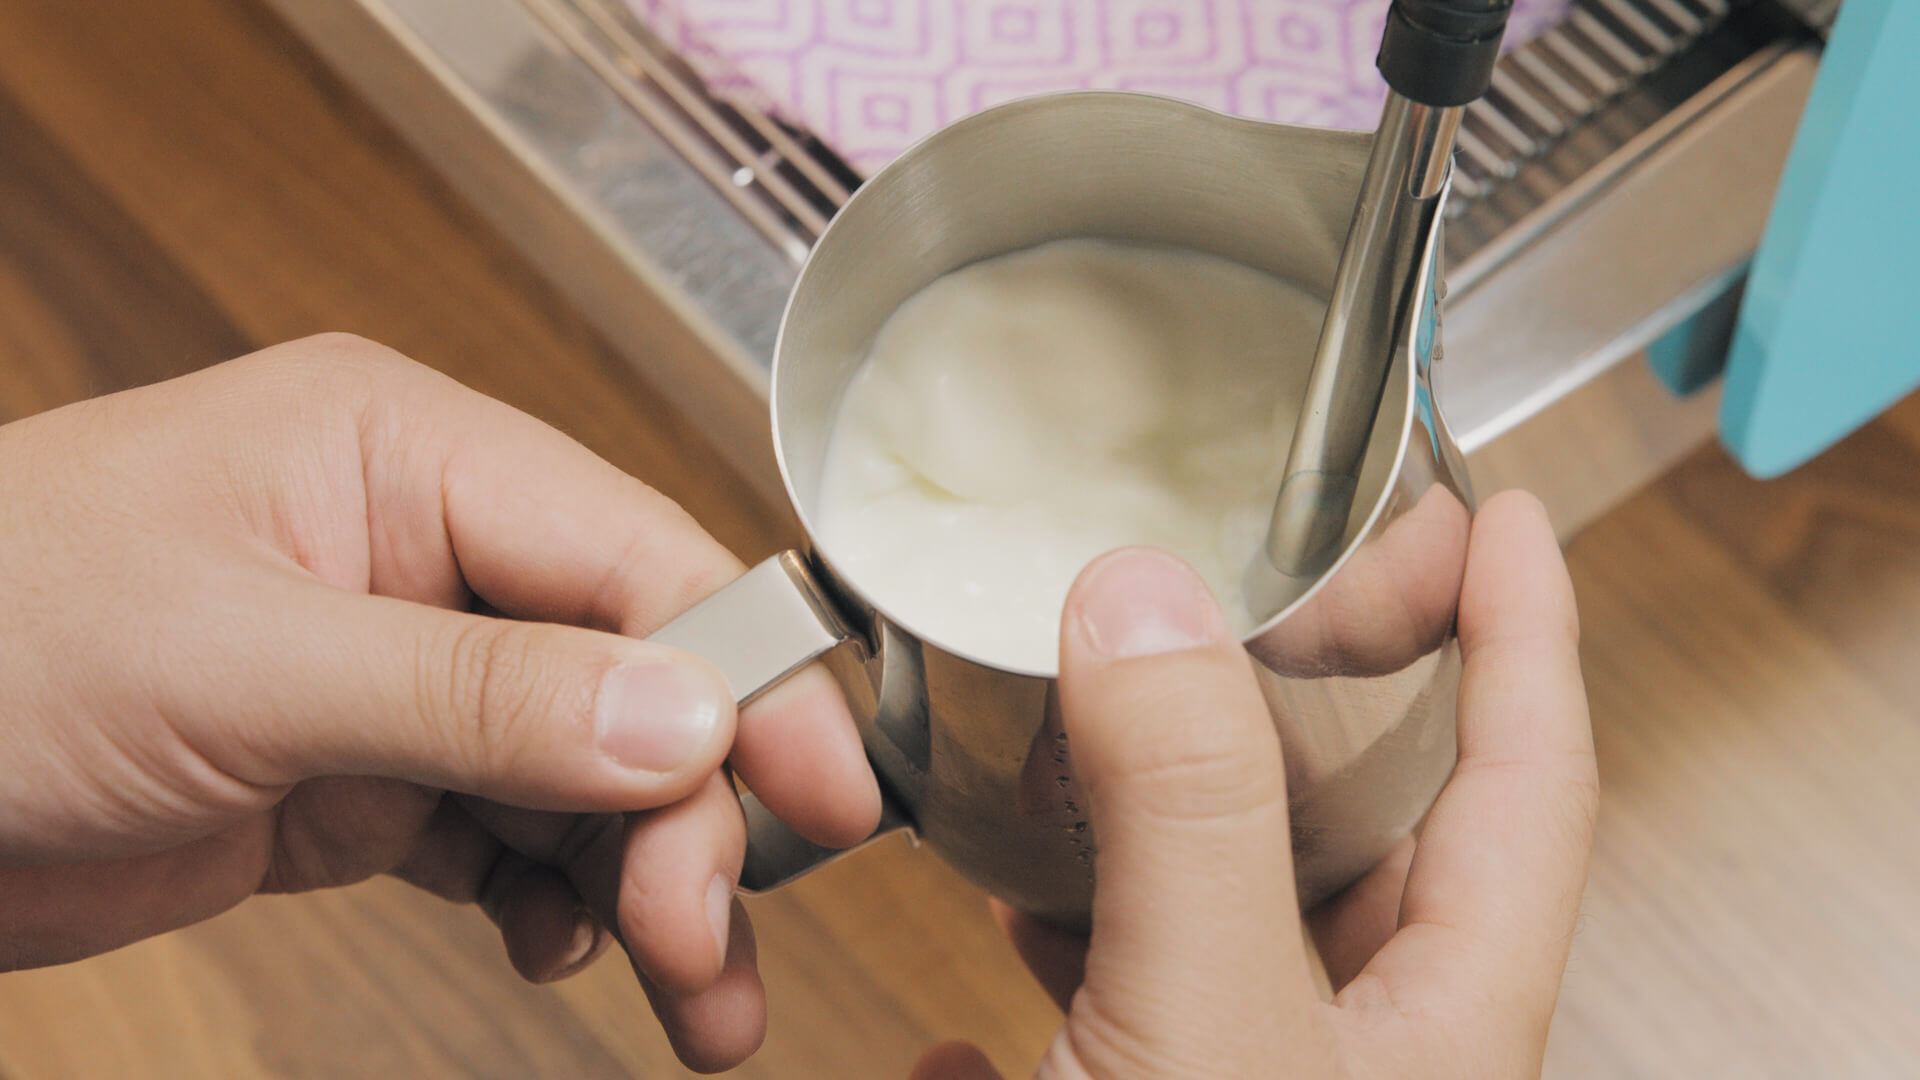
11. Remove any bubbles from the top of the milk by tapping the bottom of the jug on the bench.

12. Swirl the jug to blend the layers of milk until the top looks velvety & shiny.

13. Now you’re ready to pour.
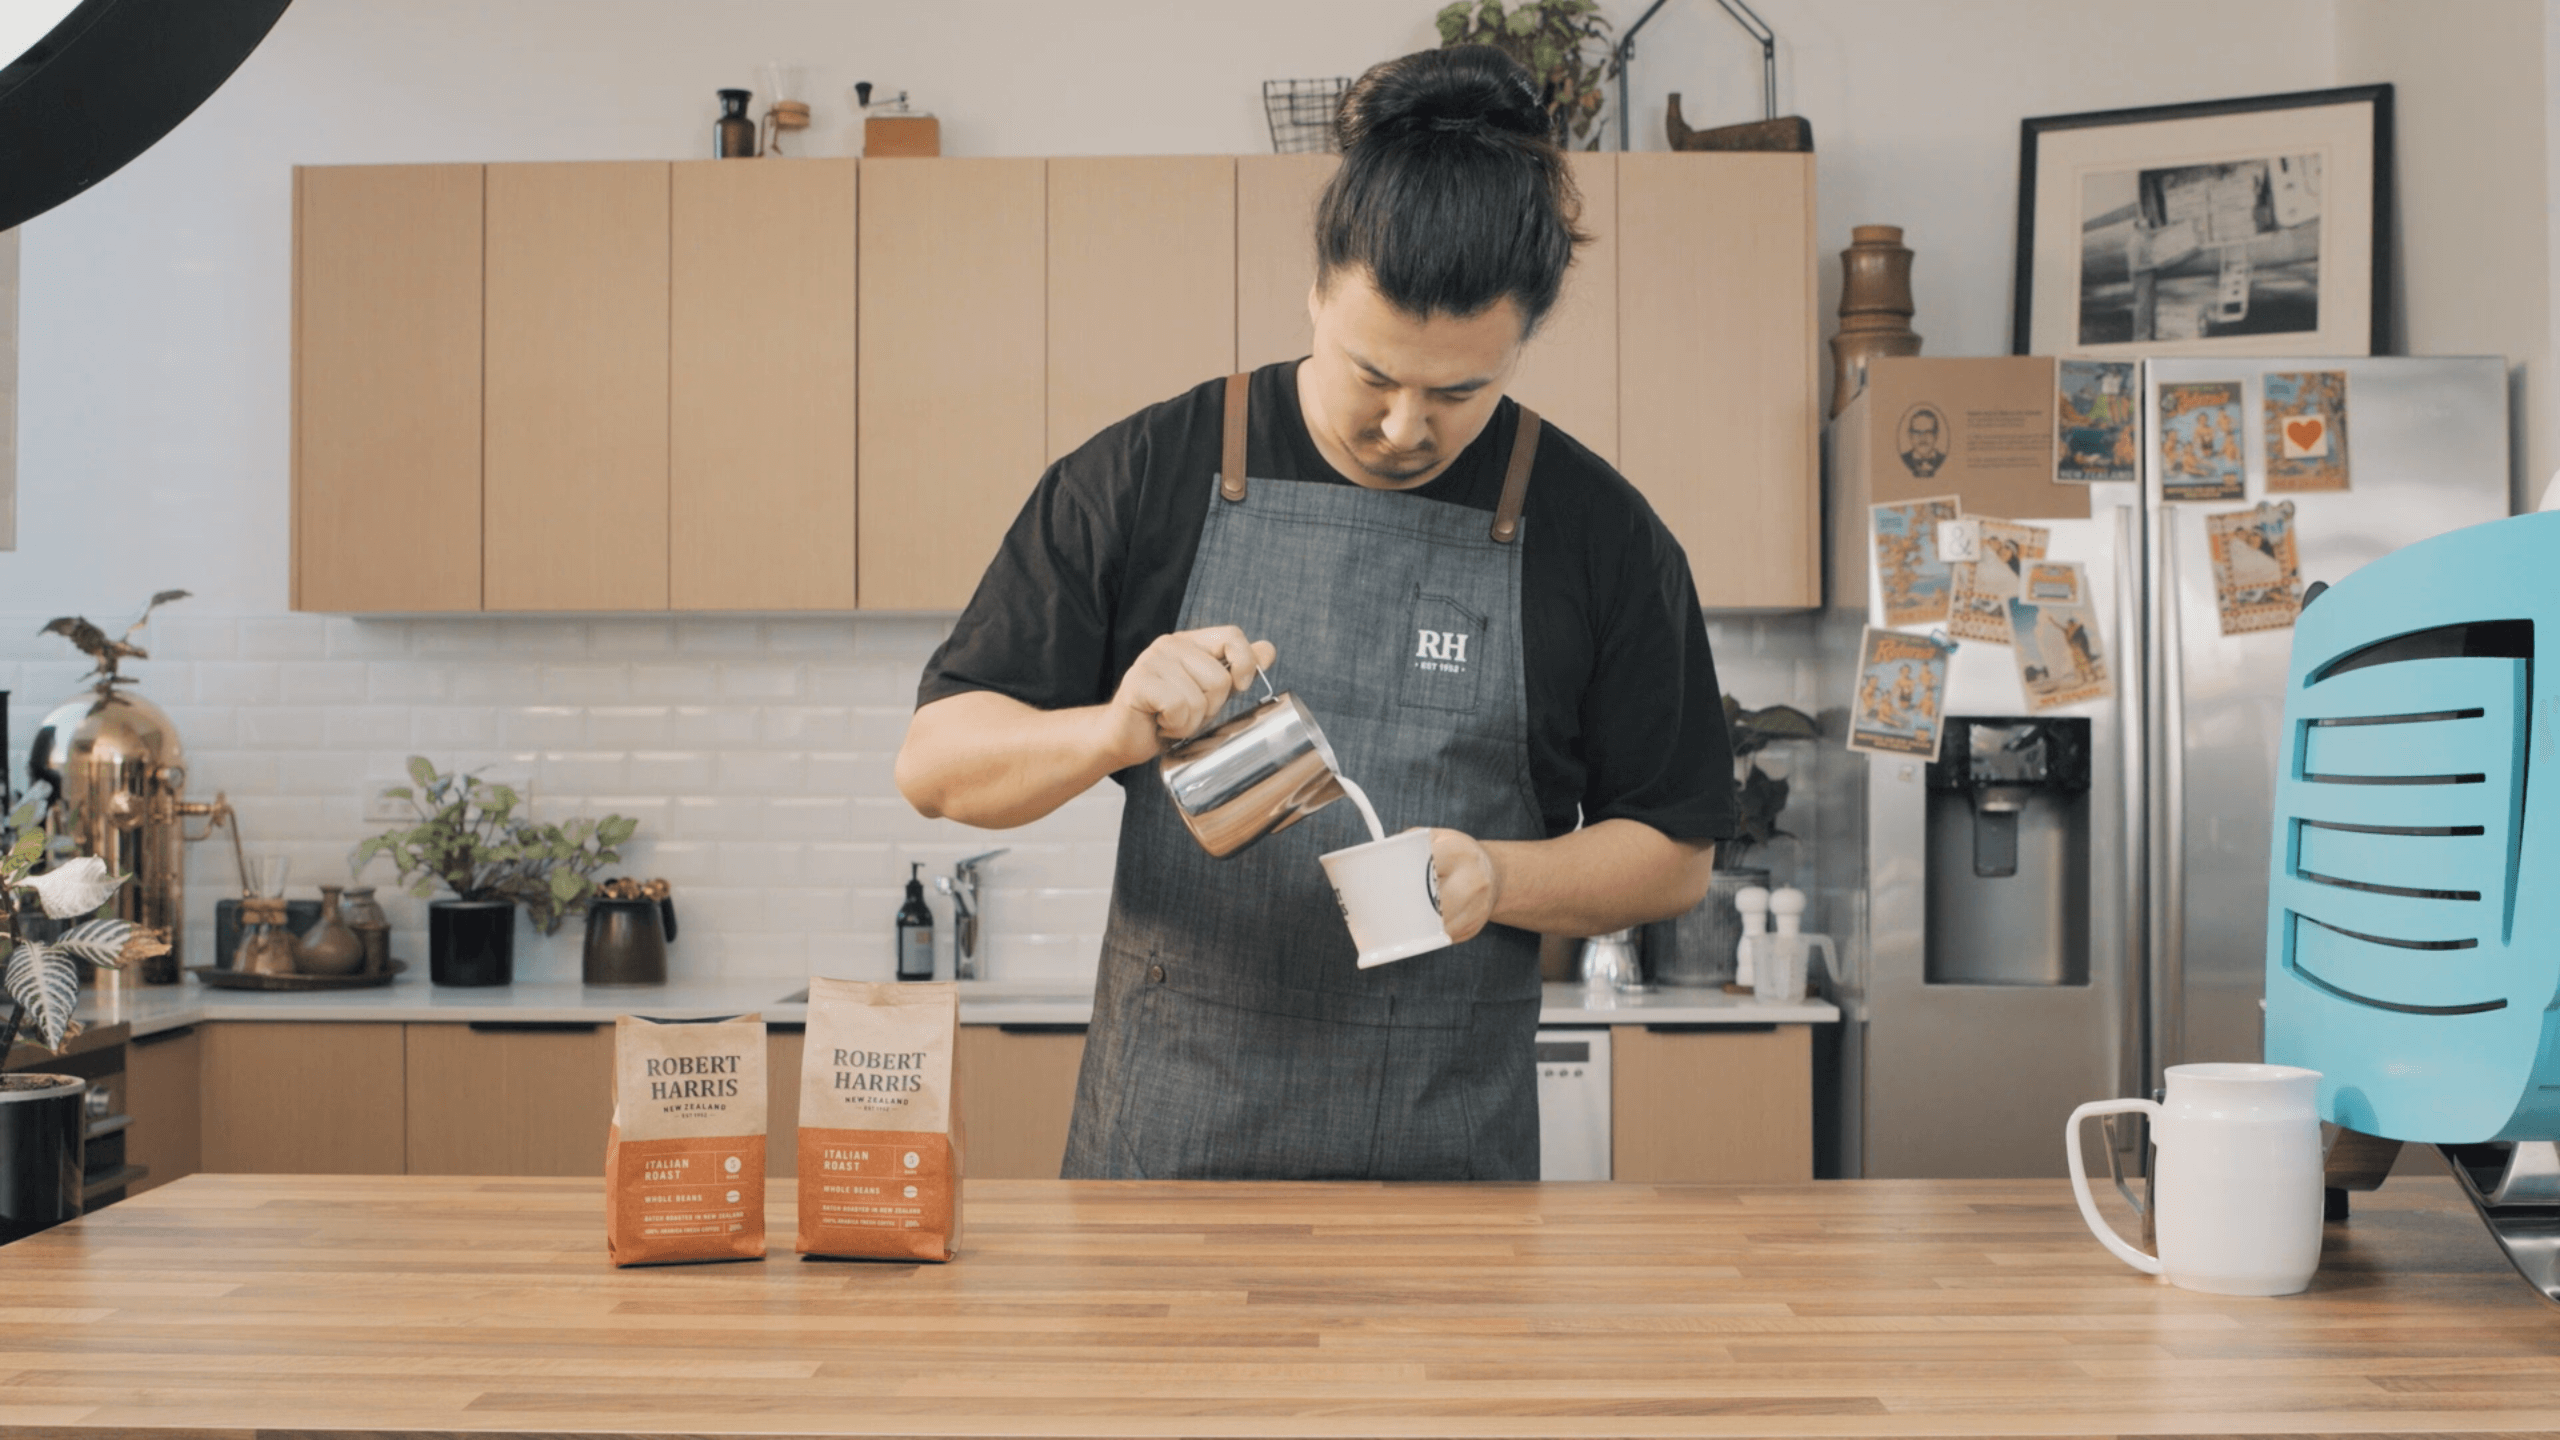
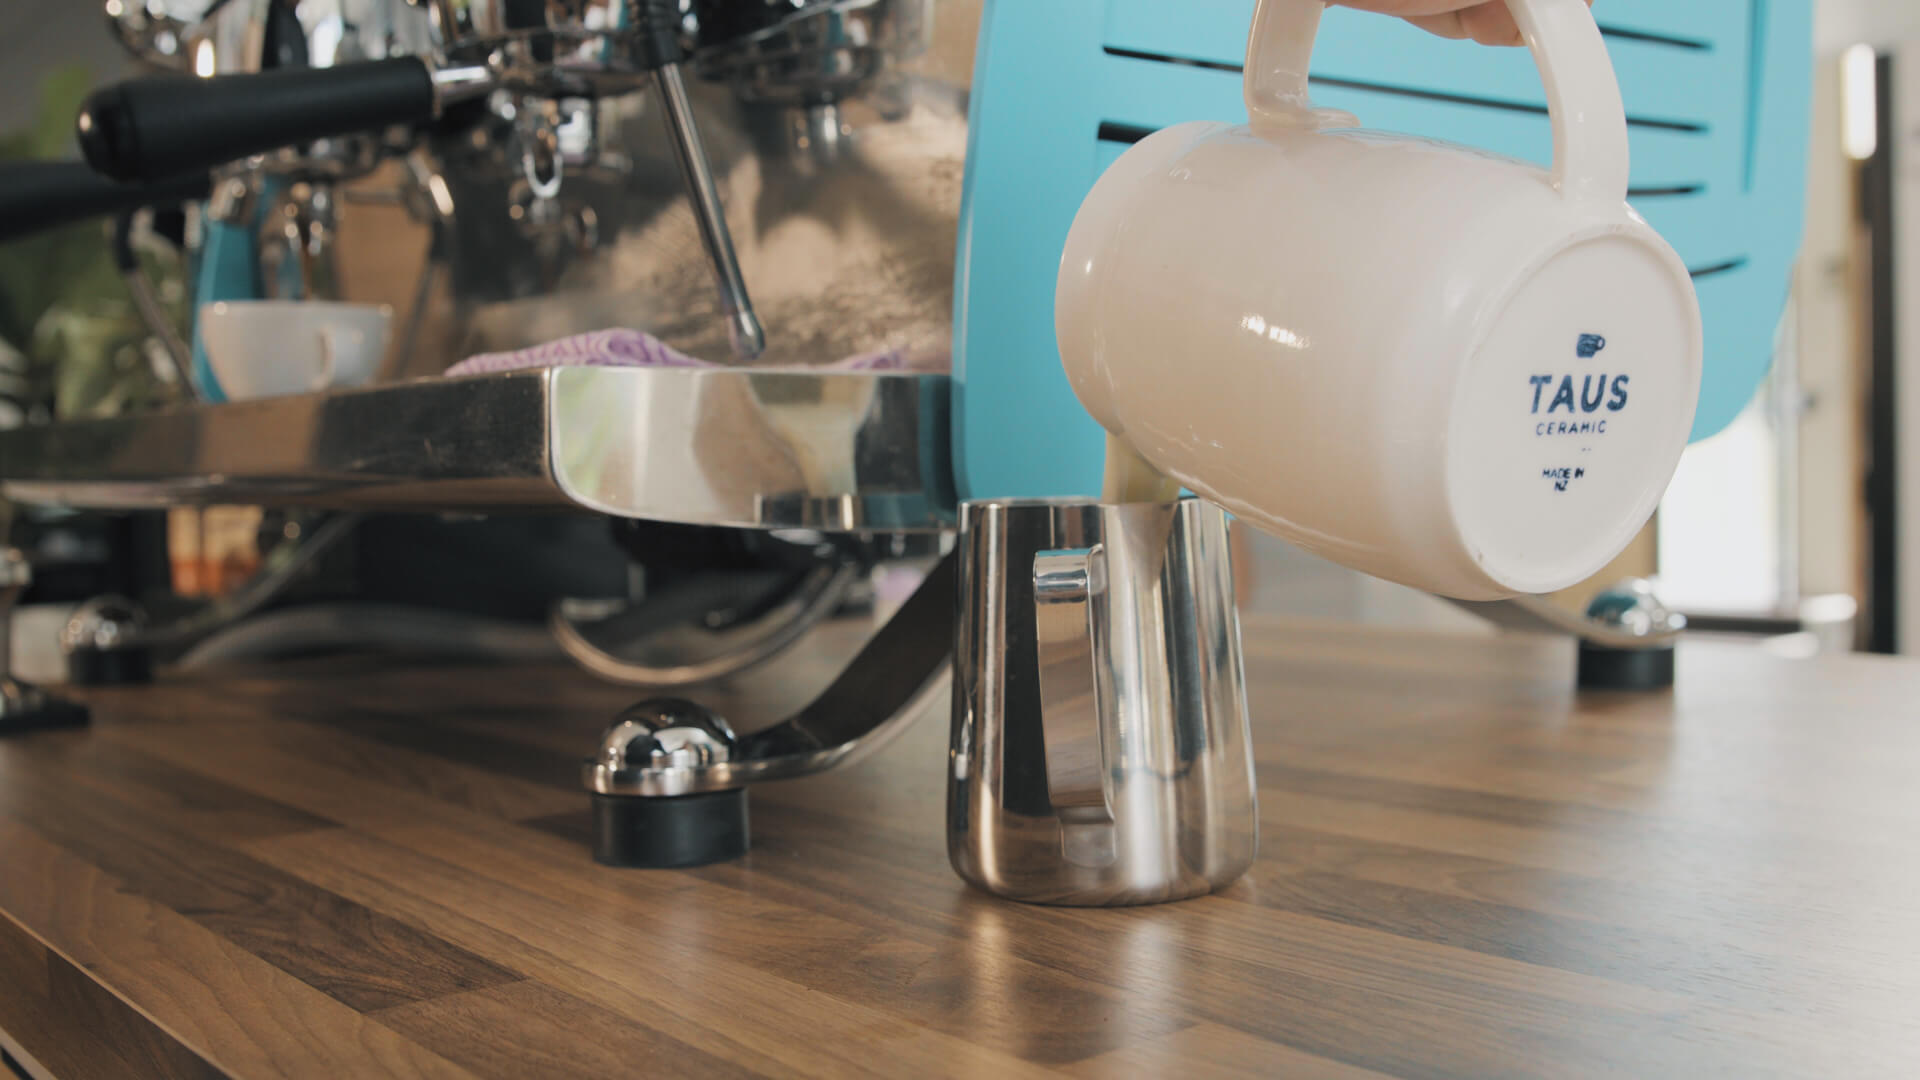
14. Hold the jug about 2 cm above the cup, pour a slow thin stream, filling underneath the crema to keep the coffee flavour at the top.

15. Once its two thirds full, move the jug down to the rim of the cup and pour a faster stream, this will encourage the foam to come out and cover the surface.
16. Enjoy.
Oxygen, moisture, heat and light are the enemies of fresh coffee. Exposure to these elements will cause your coffee to taint or become stale. Always store your coffee in an airtight container in a cool, dark place - but not in your fridge or freezer.
If you grind your own beans, only grind what you need to make a coffee. Ground coffee that isn't stored properly will go stale.
The function of the one-way Aroma Fresh Valve™ on the packs is to let carbon dioxide out and prevent oxygen from entering the pack. When whole coffee beans are roasted carbon dioxide is released. This continues to be released from the beans for 48 hours after roasting.
To enable the freshly roasted beans to be packed as soon as possible after roasting without the packet swelling and bursting, a valve is utilised to retain aroma and to ensure optimum freshness.
Grind choice is extremely important. Using a plunger grind in an espresso machine will mean you have a watery and weak coffee. If you use an espresso grind in a plunger you will find it hard to plunge and it is likely you will end up with grits and grinds in your coffee cup.
Espresso ground coffee is extremely fine and is designed to have the water passed through under pressure in a matter of 20-30 seconds. A plunger grind is coarse and designed to brew for 4 minutes. The coarse grind also means that when you plunge the coffee the water can freely pass through the coffee.
A Flat White is a single shot of coffee topped with velvety milk creating a 5-8mm cap.
A Caffe Latte is a double shot of coffee (or single shot) topped with velvety milk creating a 6-10mm cap. Traditionally served in a glass.
It is recommended to use water that is just off the boil. This means either 30-60 seconds after it has boiled, or turn the jug off just before it has boiled. Boiling water can burn the beans.
The beauty of these plunger bags is they will suit any occasion. Each plunger bag makes two cups, and multiple bags can be placed in the plunger.
So if you have a 6 cup plunger, place 3 x plunger bags in the plunger and add 4 ½ - 6 cups of water depending on strength preference and cup size.
We recommend placing no more than 3 bags per plunger.